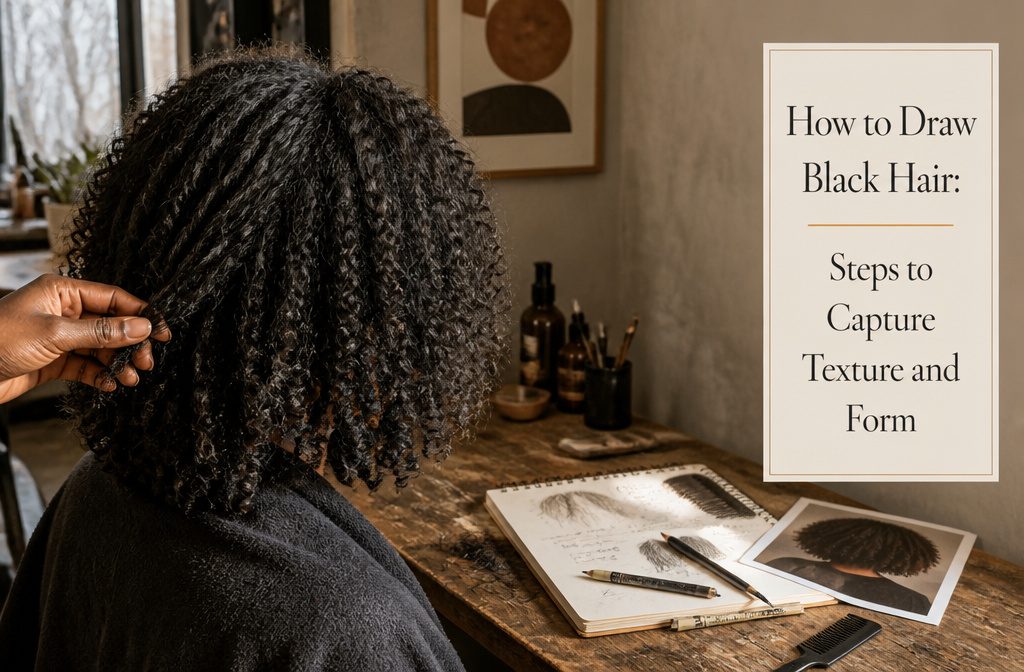
A finished black hair drawing takes a pencil or fine-liner, some patience for small overlapping strokes, and a reference photo of the exact style.
Most people get the texture stage wrong. Coils drawn as one big gesture or a solid black mass read like a helmet, and Type 4 hair breaks every rule flowing-line habits teach.
1. Choose the Hair Type and Style You Want to Draw
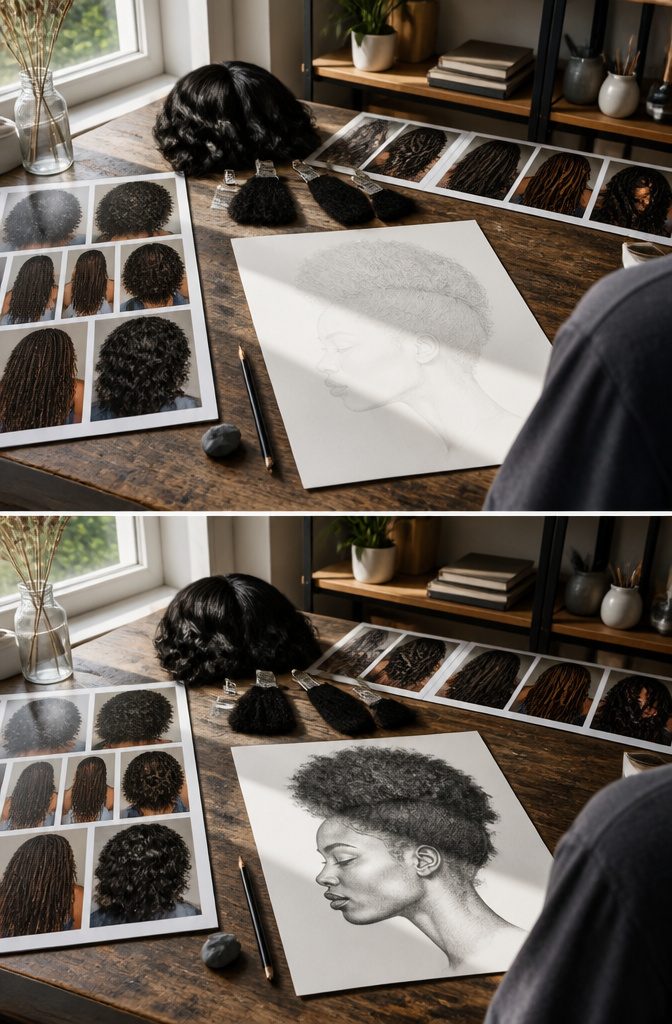
Black hair is not one texture. The range runs from Type 2 curls to Type 4 coils, and treating them all the same way shows instantly.
Type 2 is loose waves, Type 3 is defined spiral curls, and Type 4 is tight zigzag coils that grow up and out rather than down.
Each one reads differently on the page. Type 4 hair takes up space in ways that confuse people who learned to draw hair as flowing lines, and without a reference you will guess wrong.
Natural hair is one category.
Braids, locs, and wigs are three more, and each one changes the form you are actually drawing. Box braids sit in sections with geometric parts.
Locs have cylindrical weight and taper toward the ends. A wig often has more uniform density than natural hair and sits differently against the scalp.
Study the specific thing in front of you, not a general idea of Black hair. Use reference images every time, even when you think you know the shape.
2. Map How the Hair Grows and Where Volume Sits
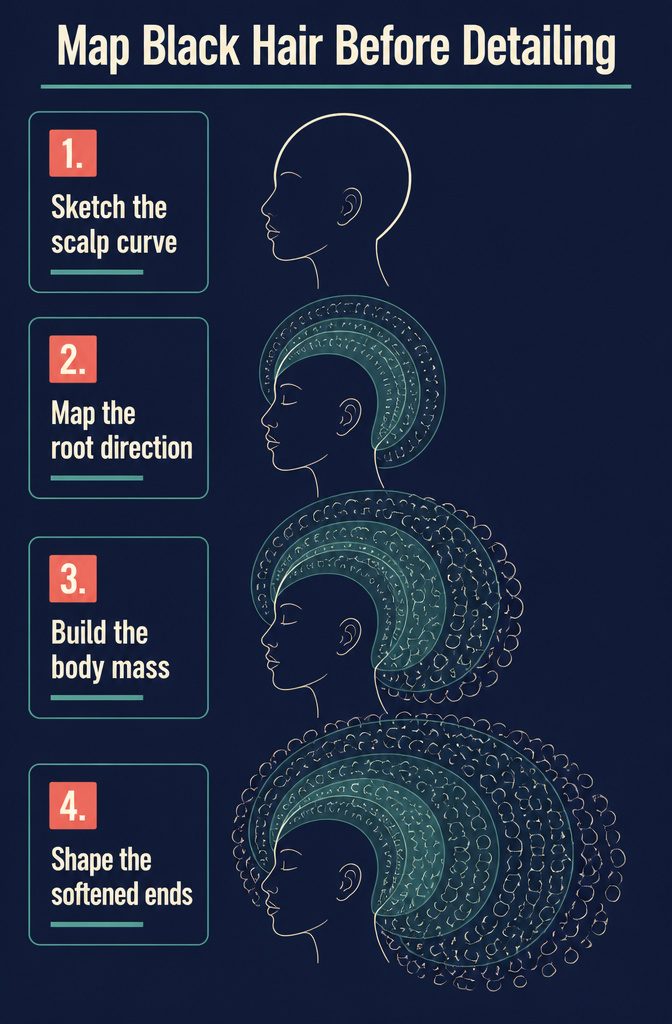
Hair grows out from the scalp in a particular direction, and mapping that direction before you add any detail keeps the whole drawing from looking pasted on.
I think of it in three layers: root, body, and ends. The root is where volume begins, sitting close to the scalp or lifting away depending on the style.
The body holds the main mass of curls or coils. The ends are where strands may soften or fray.
Sketching these layers separately solves the flat-hair problem.
Hair isn’t a solid block. It clumps as it grows, and those clumps follow the curve of the head and the pull of gravity or styling.
Light construction lines at this stage map out which direction the curls travel, where density builds, and how far the silhouette extends from the scalp.
Once that structure is down, the texture work that comes after has something to sit on.
3. Sketch the Main Mass and Direction in Clumps
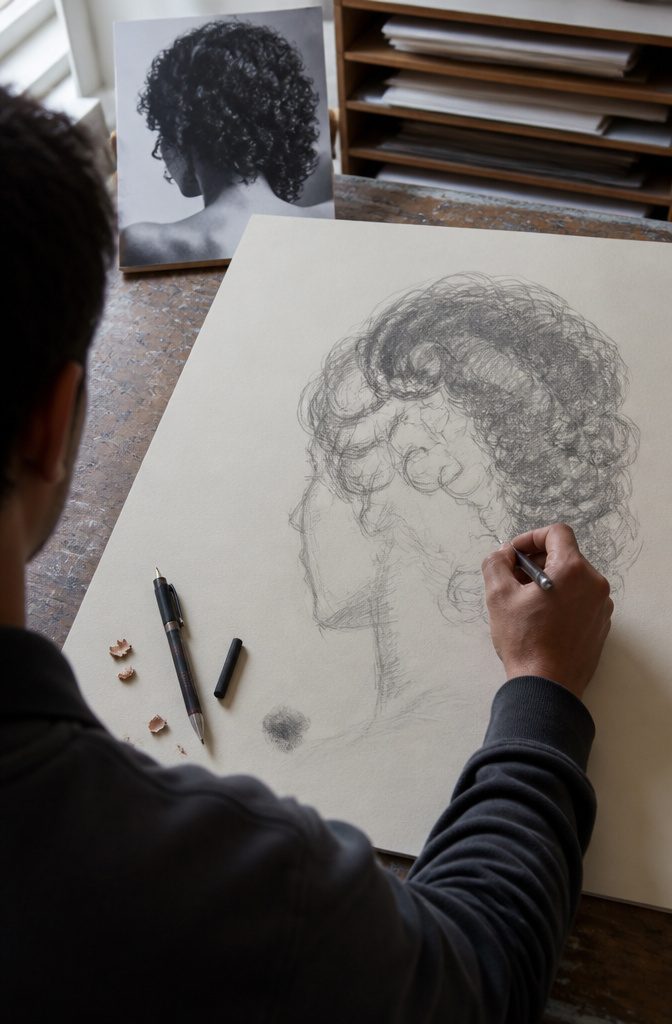
The form you’re after sits in clumps rather than individual strands.
Black hair doesn’t grow as separate lines radiating from the scalp; it emerges in clusters, each one a tight bundle of coiled strands that catch and block light differently depending on angle.
I start by sketching these clumps as loose masses, mapping where each one sits and which direction it moves before worrying about texture.
The S-curve method gives you movement without locking in too much detail too soon.
Draw gentle waves that follow the contour of the head, letting each curve suggest how a clump flows outward or wraps around the skull. Once that skeleton is down, tighter spirals layered inside those curves start to indicate curl density.
The spirals don’t need to be uniform; varying their tightness across different clumps gives the hair dimension and keeps it from reading as a flat silhouette. This stage establishes overall form, and the texture comes later.
4. Build Texture and Depth With Coils and Smaller Strokes
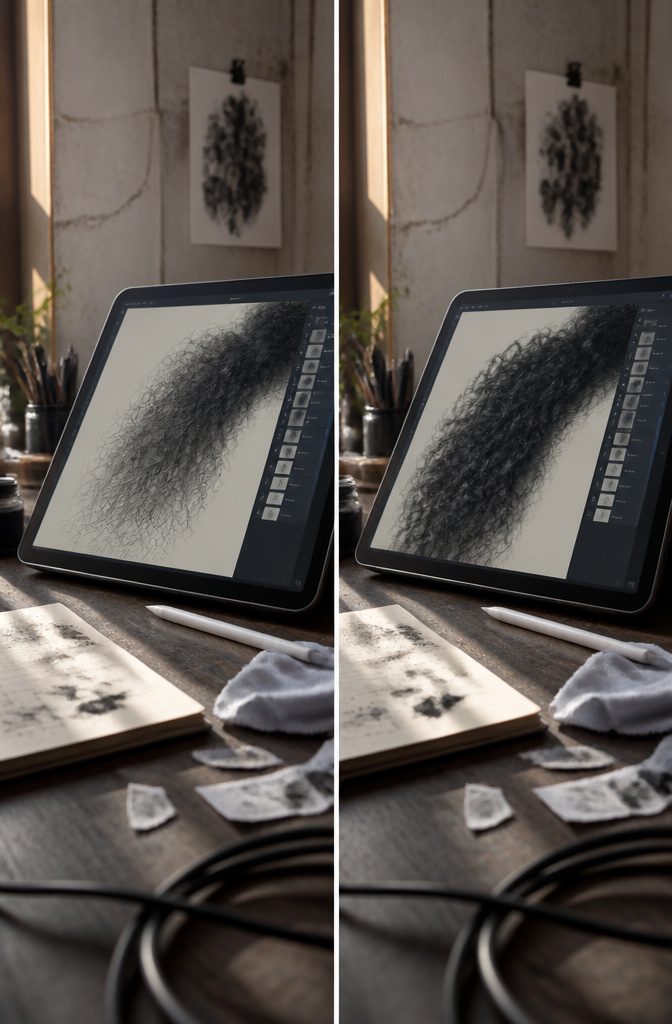
A solid black mass reads like a helmet. Coils fix that: small spiral and loop strokes laid over the clumps, with light catching the edges of each curl and shadow pooling between them.
In pencil or ink, build them with fine-liner cross-hatching or stippling, layer on layer, so the repetition stands in for density.
Keep the strokes small and overlapping, since one big gesture can’t suggest a crowd of strands. Erasing smudges, so I’d go light first.
Digitally, a smooth brush over-smooths fast, so pick one with adjustable texture settings.
Put the coils on their own layer, then use a layer mask to pull them back where the hair should soften, like the ends. Edits stay non-destructive.
5. Shade According to Light and Hair Density
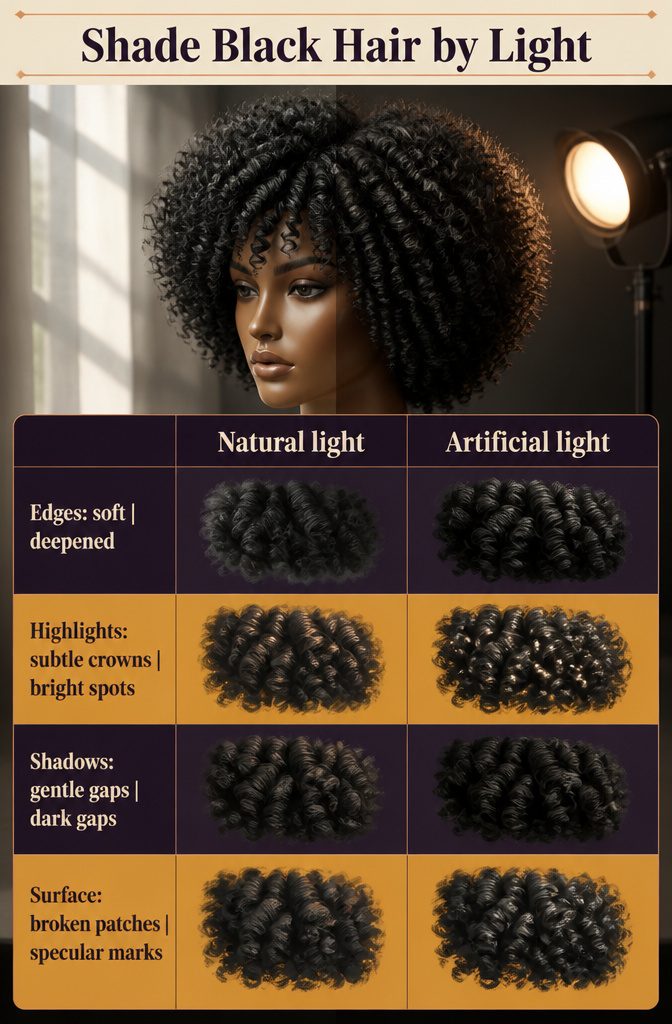
Black hair reflects light in broken patches, so shade in fragmented marks rather than smooth gradients. Put the darkest shadows between coils, and keep highlights on the crown of each curl facing the light.
Natural light calls for soft edges and subtle highlights along those crowns.
Under artificial light, shadows between strands deepen, and you can add specular highlights, the bright spots where light hits the surface. Backlit hair is mostly silhouette, so I’d concentrate on the outline and on light filtering through the density.
Squint at your reference first. The blur collapses detail into simple light and dark shapes.
6. Check Against Reference and Refine
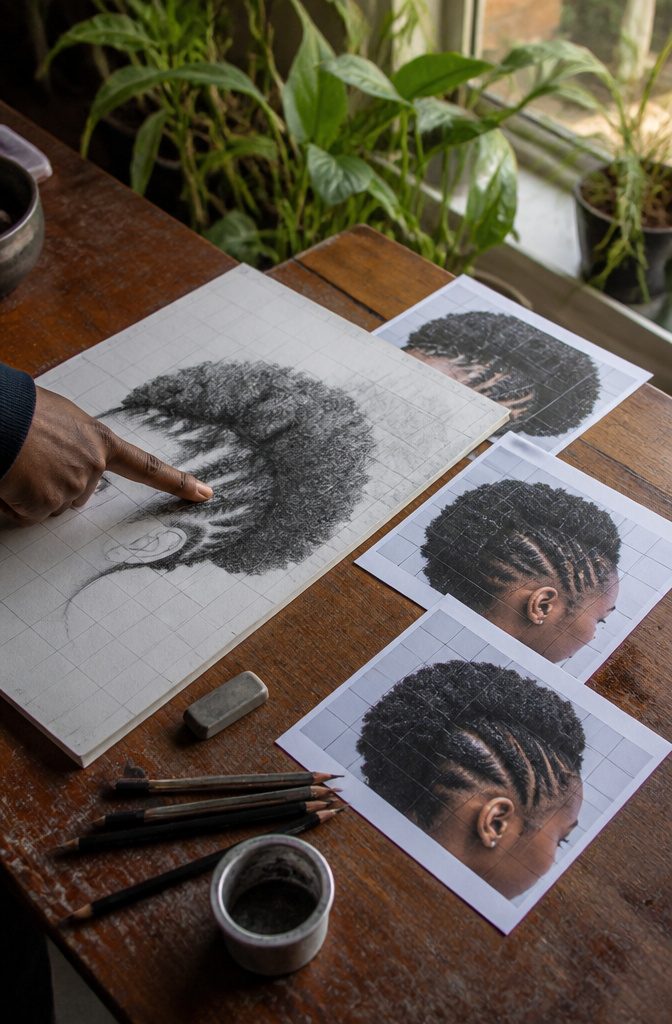
Lay a light pencil grid over your reference photo and a matching one on your paper, then compare square by square.
Match the darkest cells first, and check that the squares where light catches the outer curve of the mass still show bare paper.
Black hair is incredibly diverse, and a single photo can still push you toward generic or inaccurate details.
I’d pull several references of the exact style you chose, and watch videos of it being styled to see how it grows and holds its shape.
Then show the drawing to a mentor or someone who wears this hair, and fix what they flag without defending it. Mistakes are expected, and each correction moves the drawing closer to the real thing.
Study Different Textures and Growth Patterns
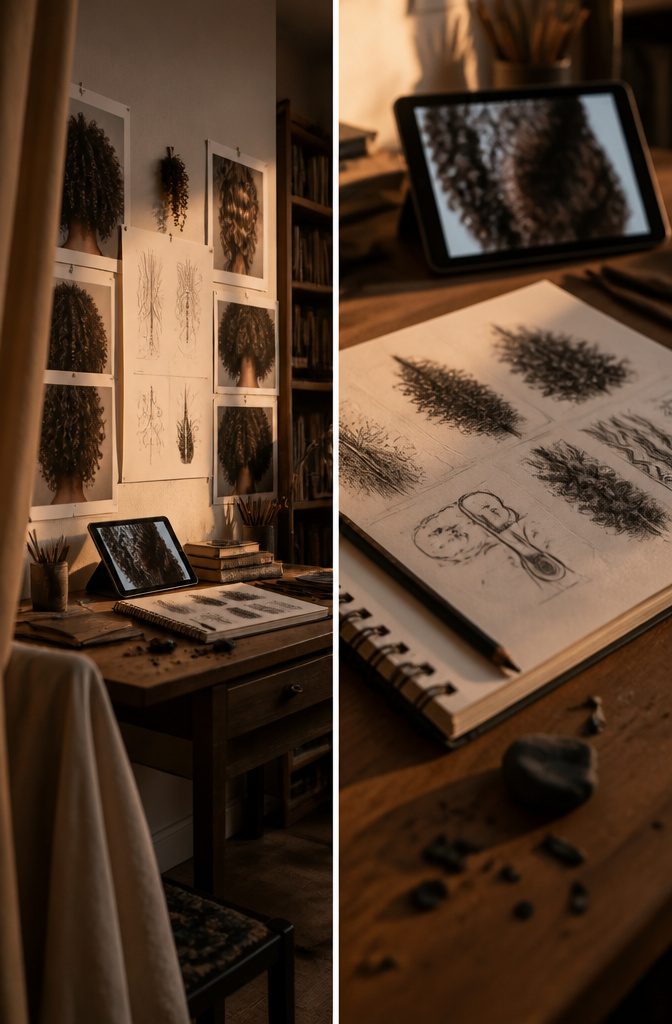
Black hair is not one texture, and a drawing that treats it as one reads as a stereotype before anyone looks at the linework.
Collect photos of several different people and compare them: fine, tightly coiled Type 4 hair against the looser waves of Type 3. Accurate depiction is a matter of cultural representation as much as technique.
Drawing from imagination is possible, and it builds a feel for volume and texture. Still, beginners should work from references, because guesses turn into clichés fast.
When photos are scarce, watch videos of Black hair being styled or study diagrams of hair follicles to understand growth patterns. Experienced artists keep references open too.
Draw Braids, Locs, and Other Protective Styles
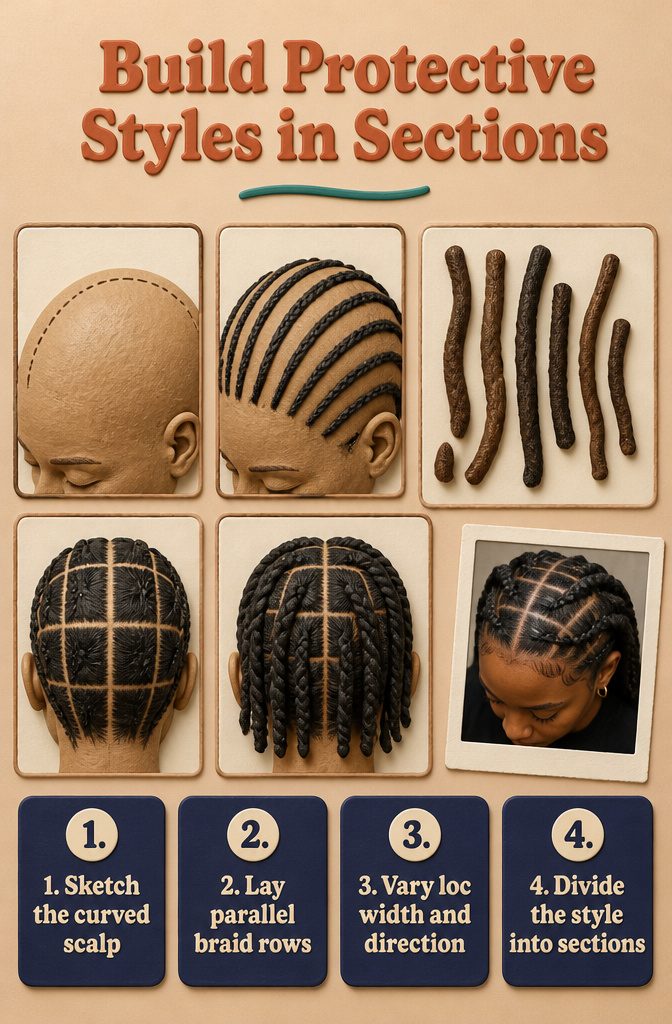
Braids start with the scalp.
Sketch its curved shape first, then lay thin, parallel lines over it, one set per braid, so every row follows the form underneath. Subtle curves in those lines suggest tension where the hair pulls tight.
Locs are cylinders with visible gaps between them. Vary the thickness and direction of each loc, because uniform locs look stamped from a mold, and real ones never match.
Break any protective style into sections before drawing a single strand, and I’d always pull a reference photo of the exact style, since each one has its own character.
Tools and Brushes That Work
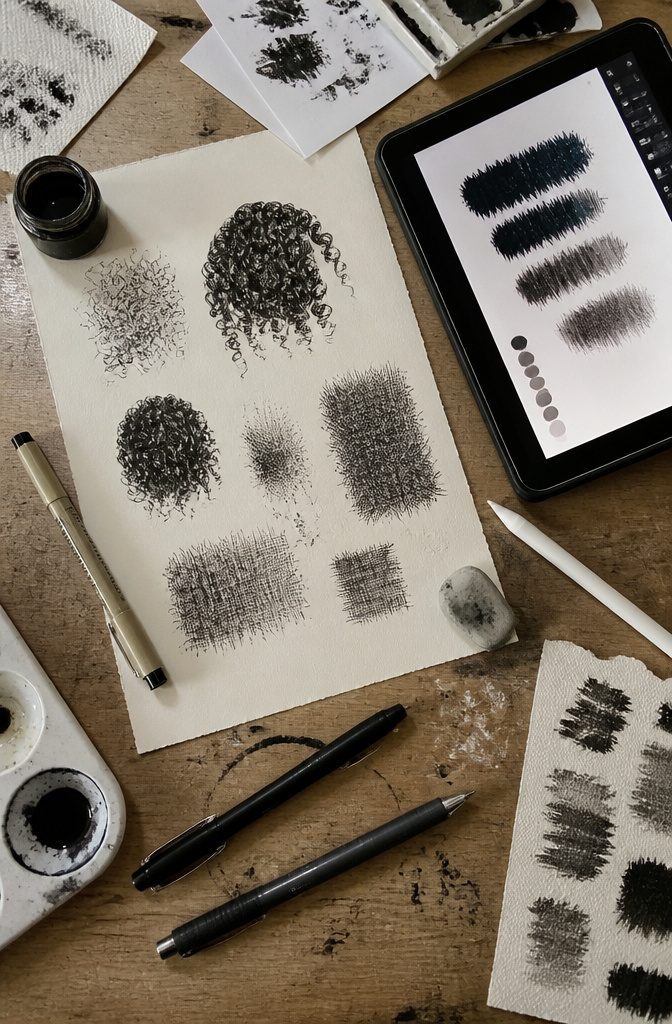
Pick tools by how they handle texture, because that is where Black hair drawings succeed or fail:
- Traditional: Micron fine-liners build coils through cross-hatching and stippling. Pair them with textured paper so the ink doesn’t smudge.
- Ink is hard to correct, so I plan the strokes before committing.
- Procreate: The Ink and Dry Media sets have jagged-edged brushes that copy the irregular edges of real hair.
- Photoshop: Layer masks and blending modes let you adjust lighting and shadow without destroying earlier work.
- Digital risk: Brushes without texture over-smooth the hair into a flat, glossy mass. Lower opacity and flow to build density gradually.
- Custom brushes: Gumroad and Creative Market sell sets made for Afro-textured hair, and they’re worth the browse.
Frequently Asked Questions
What is the biggest mistake beginners make when drawing Black hair?
Treating the hair as one solid mass.
It grows in clumps, so a flat block of shading loses the texture and depth and ends up looking like a helmet. Map the curl direction with light construction lines first, then build the clumps with S-curves and small coils.
Which tools and brushes work best for a black hair drawing?
Pick tools that handle texture well. On paper, fine-liners on textured paper build coils through cross-hatching and stippling.
In Procreate, the Ink and Dry Media brush sets have jagged edges that mimic real hair. Brushes without texture over-smooth the hair into a glossy mass, so lower the opacity and flow and build density gradually.
How do I draw protective styles like braids and locs?
Break the style into sections before you draw a single strand. For braids, sketch the curved shape of the scalp first, then lay thin parallel lines over it so each row follows the form underneath.
Draw locs as cylinders with visible gaps between them, and vary their thickness and direction so they don’t look identical.
Can I draw Black hair without reference images?
You can, but beginners should not. Black hair ranges from Type 2 waves to Type 4 coils, and guessing at that range leads to clichés and inaccurate shapes.
Drawing from imagination is still useful practice for building a feel for volume and texture once you have studied real examples.
How do I draw Black hair in different lighting?
Shade in broken, fragmented marks rather than smooth gradients, with the darkest shadows between coils and highlights on the crown of each curl facing the light.
Natural light calls for soft edges and subtle highlights. Artificial light deepens the shadows between strands and allows bright specular highlights, while backlit hair reads mostly as silhouette.
Where can I find reliable resources to learn more about drawing Black hair?
Start with several reference photos of the exact style you want to draw, plus videos of that style being done so you can see how it grows and holds its shape.
Then show your drawing to a mentor or someone who wears the hair and fix what they point out. For digital work, Gumroad and Creative Market sell brush sets made for Afro-textured hair.