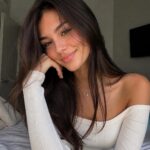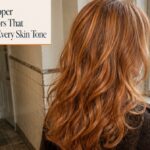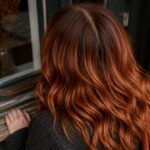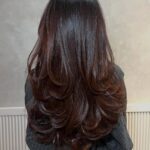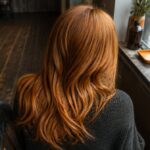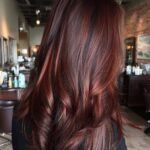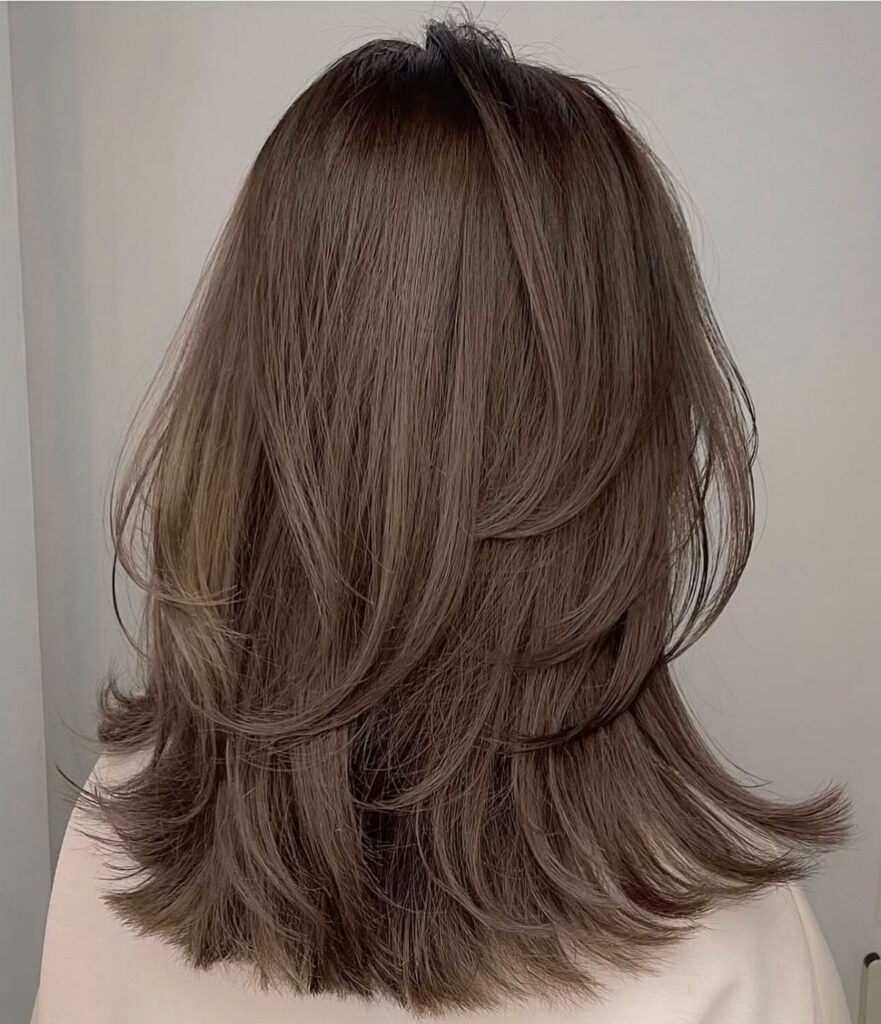
Shoulder length covers a wider range than the name suggests: a blunt Clavicle Cut with hidden internal layers, a choppy point-cut style, a tight-curl afro, and a pin-up set that needs real time to style.
Your hair’s texture and density decide which of these is yours, because thick hair can carry layers you actually see while fine hair gets lift and a lighter feel but not extra density.
Layers behave differently on each texture: a 1-inch curling iron can pull a layered bob into shape, but it won’t help a cut that was built around natural curl.
1. Clavicle Cut
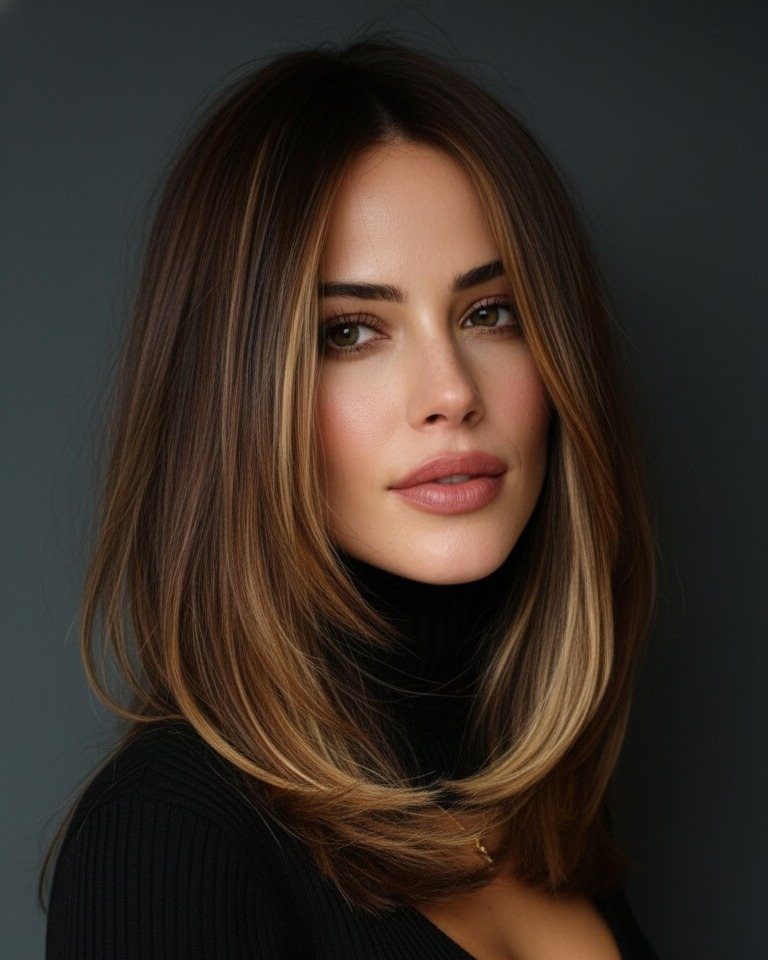
A blunt line right at the collarbone keeps the weight in the perimeter, and the soft internal layers sit inside it, so the ends stay clean while the body loosens up.
Ask your stylist for layers cut inside the length, not shortened through the bottom. That detail is what keeps this from turning into a shaggy shape.
Highlights, like the ones visible here, make those layers easier to see. On solid dark hair they read more quietly.
2. Layered Bob
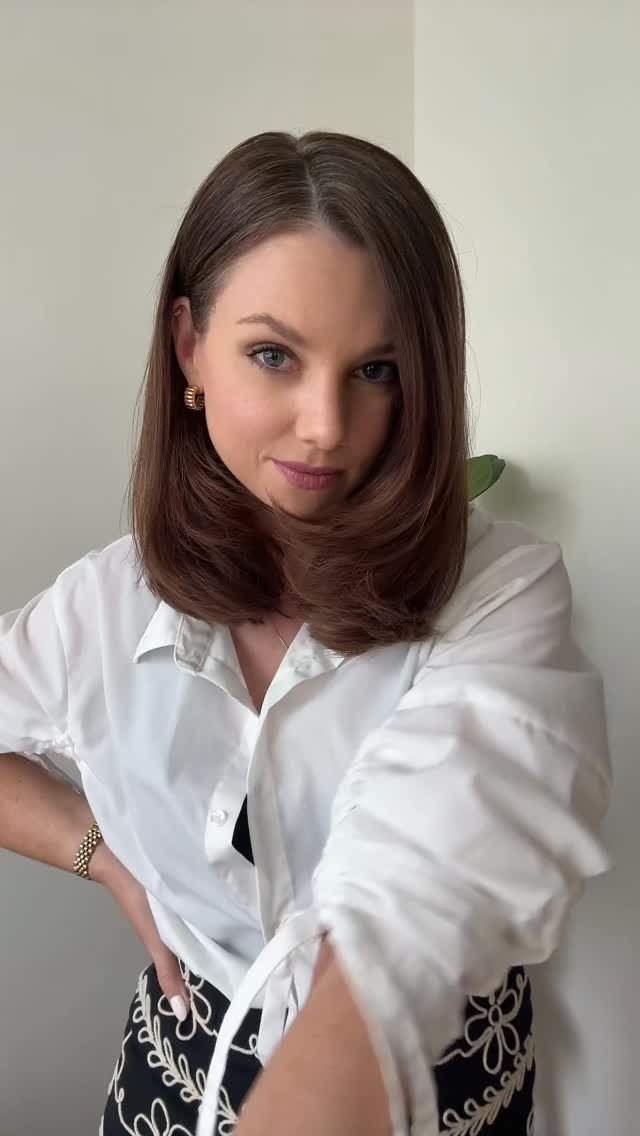
Movement is what a layered bob adds, and on a dark brown shoulder-length cut it is the difference between a helmet and hair that swings.
Curling the ends under with a medium round brush or a 1-inch curling iron finishes a layered bob neatly and keeps the shape from flaring out at the jaw.
Tell your stylist you want layers that remove bulk without losing the line at the bottom. Fine hair does better with fewer, longer layers.
At home, a round brush and a quick pass of heat on the ends is enough to get the curl-under.
3. Layered Italian Bob
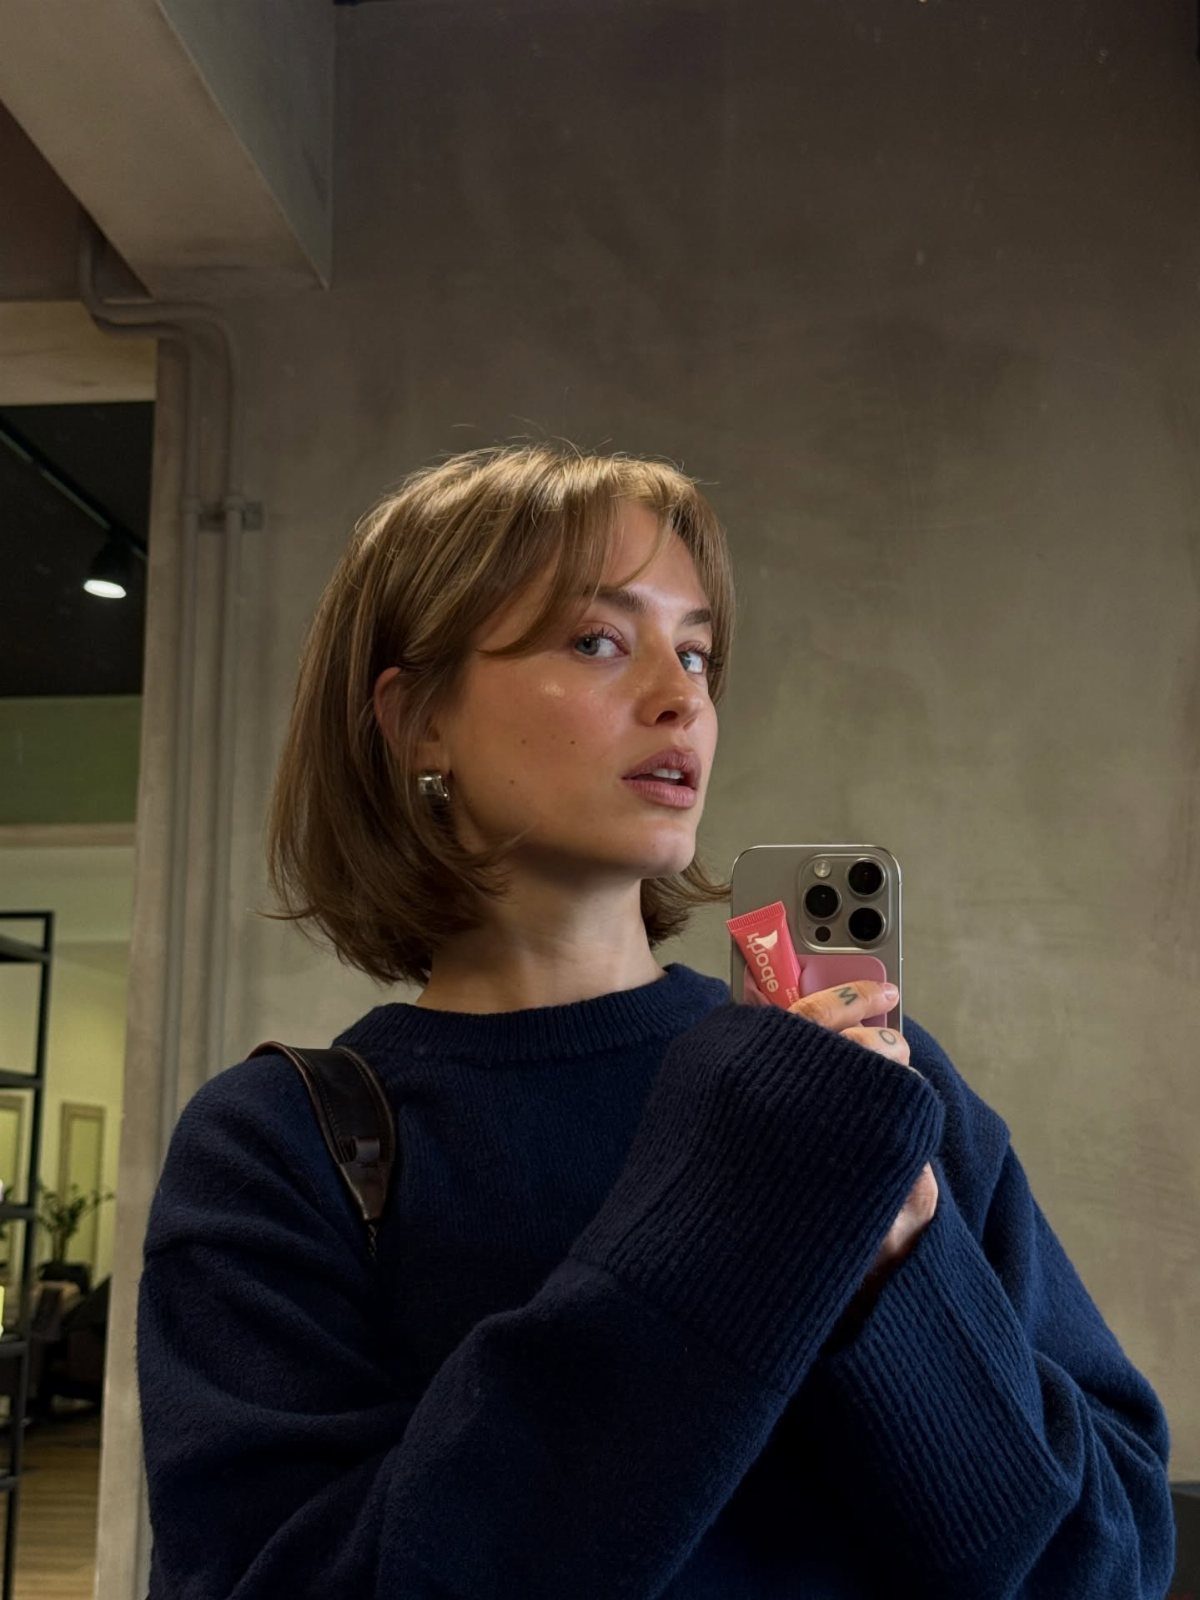
Longer front pieces are the giveaway on an Italian bob: they slide past the chin while the back stays shorter and softly layered, so the face gets framed without any bangs.
Bring the name to the salon, plus a photo, since "bob" alone can land you somewhere blunter. Ask for the front sections to stay noticeably longer than the back.
Brown suits this cut well, because the soft layers show their shape on dark hair without needing styling product.
4. Curved Lob
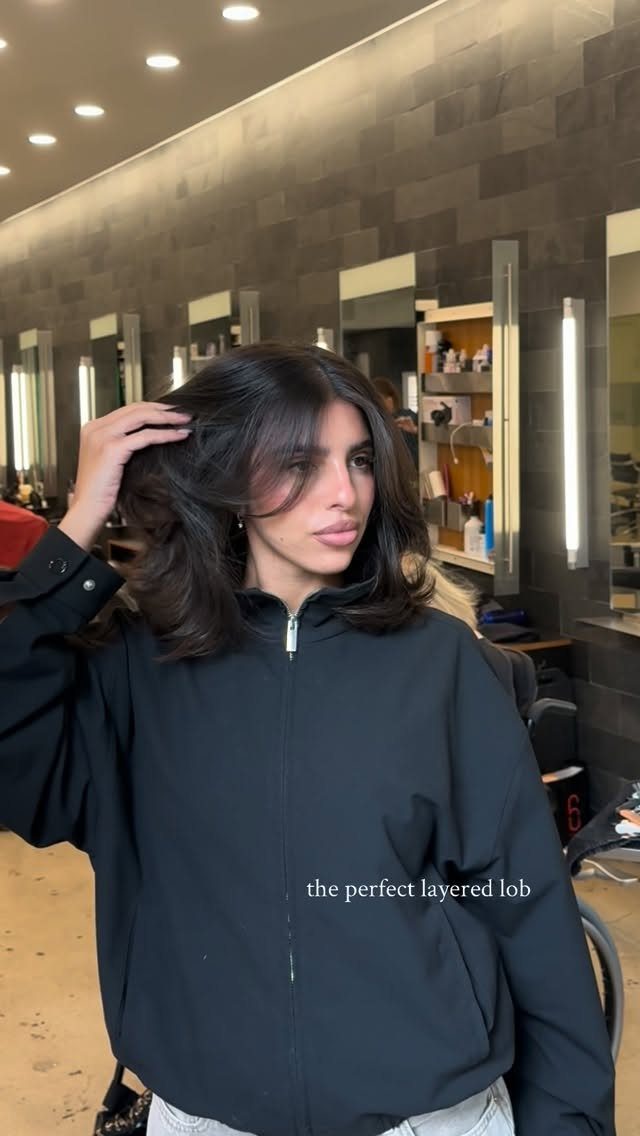
Body on a sleek lob comes from the curve at the ends, which bend inward or outward so the shape never looks flat. Dark hair shows that bend clearly because the shine catches along the curved line.
Ask for layers that stay light and mostly hidden, so the surface stays smooth. A flat iron with a slight turn of the wrist at the ends makes the curve at home.
The trade-off: a lob this polished looks its best when the ends stay trimmed.
5. Sleek Layers
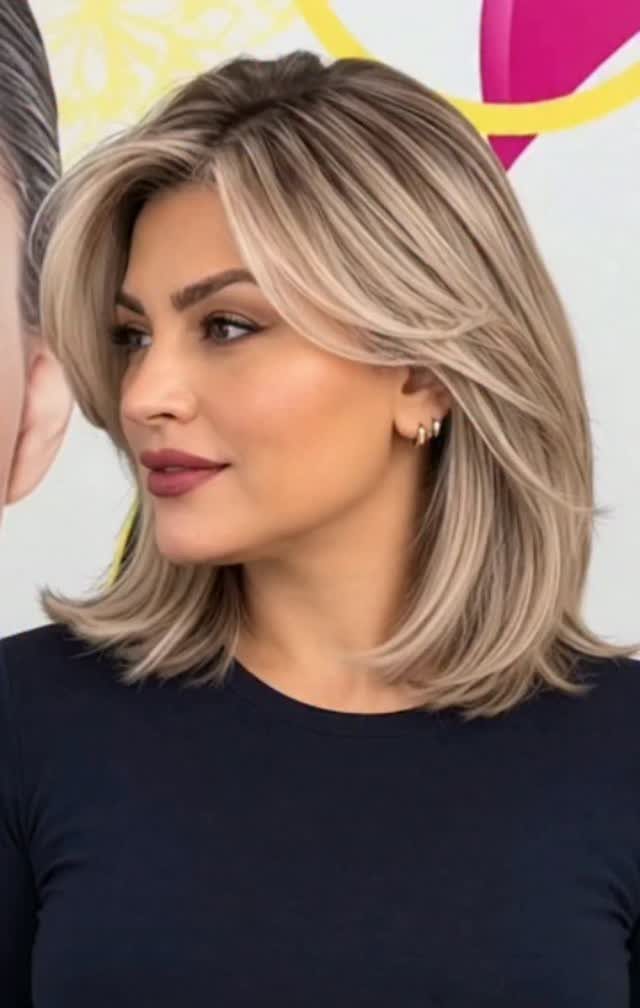
Straight, smooth layers that fall along the face do the framing here, and the sleek finish keeps the shoulder line clean instead of fluffy. With blonde hair, the shine is what makes the cut read as polished.
Soft face-framing layers that melt into the ends are what you want on the order ticket, since they let the front pieces fall smooth instead of kicking outward.
A flat iron or a smoothing blow-dry with a paddle brush gets this finish at home.
Sleek hair shows every uneven end, so I’d keep up with trims.
6. Tousled Waves
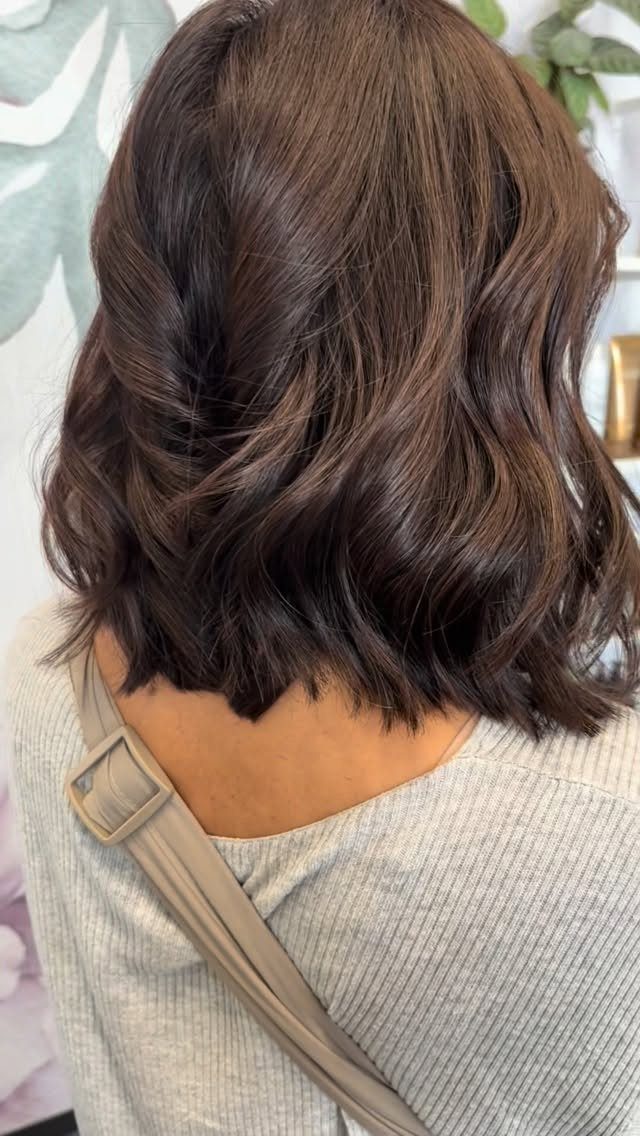
Loose, uneven waves that start at the shoulder and finish just past it give this cut a lived-in look, and the layers on dark brown hair show up as soft movement across the back instead of hard lines.
Ask your stylist for shoulder-grazing layers with enough length that the waves have room to bend.
At home, a medium curling iron, alternating the direction of each section, builds the wave, and a quick rake of your fingers breaks it up.
I’d pick this one if you like hair that looks better a little undone.
7. Choppy Shoulder-Grazing Style
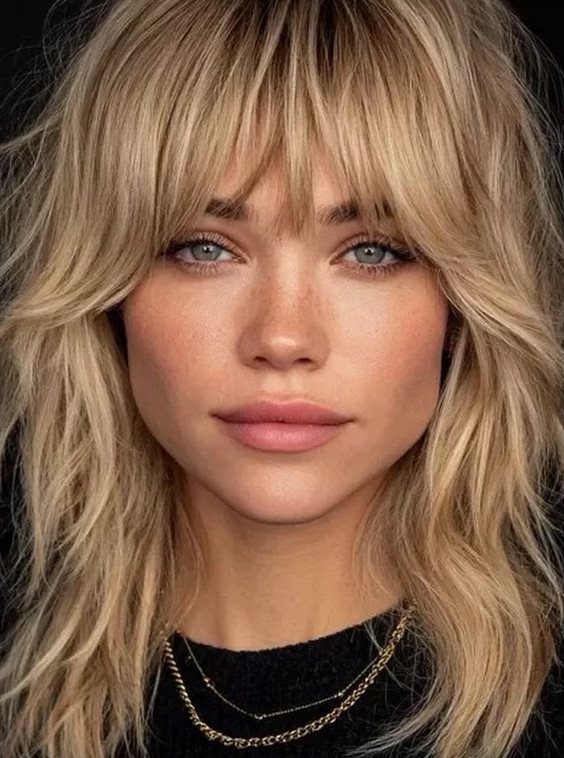
Short, uneven pieces cut through the ends are what make fine or medium-density hair look fuller than it is. Each layer stops at a different length, so the shoulder line reads textured instead of blunt.
Ask your stylist for choppy, point-cut layers and wispy bangs, and say you want the ends to stay visibly separated. At home, a light texturizing spray worked through with your fingers keeps the pieces apart.
Straight, smooth hair will blur the effect, so I’d choose this one if you like tousled hair.
8. Feathered Lob
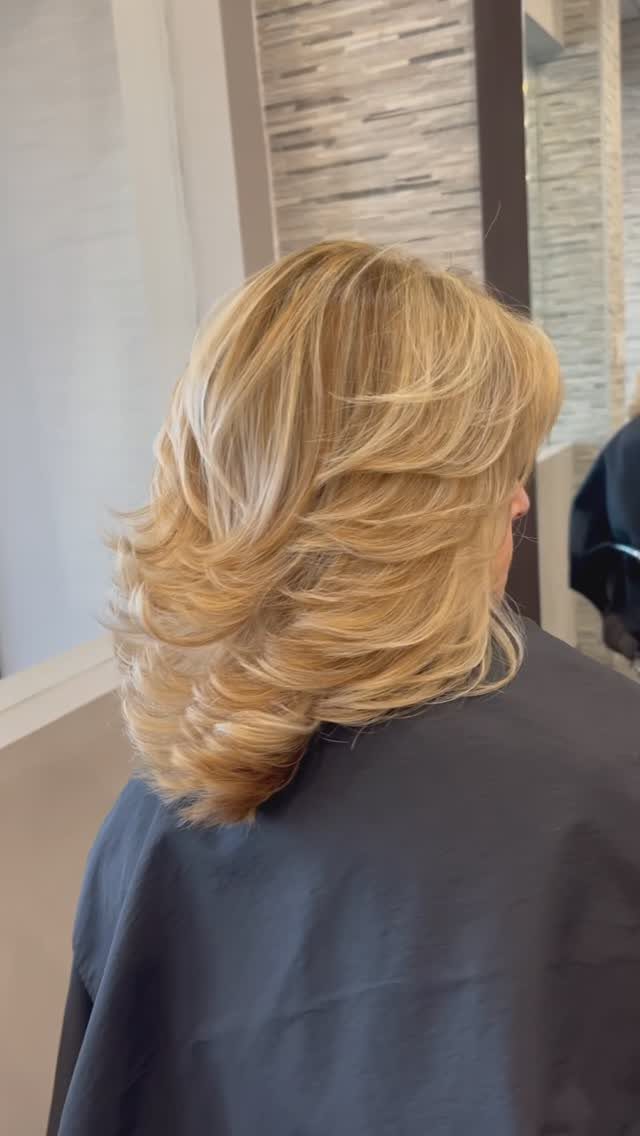
A feathered lob gets its airy finish from ends that flip outward and layers that taper rather than stack. It suits women who want shoulder-length hair that moves but doesn’t need much effort.
Ask for long, softly tapered layers and name the flip-out at the ends so it isn’t cut blunt. A round brush, turning the ends away from the face as you dry, sets the shape.
Pick this one over a layered bob if you want lift without a curl-under, though the flip needs a few minutes of brushing to hold.
9. Shag with Bangs
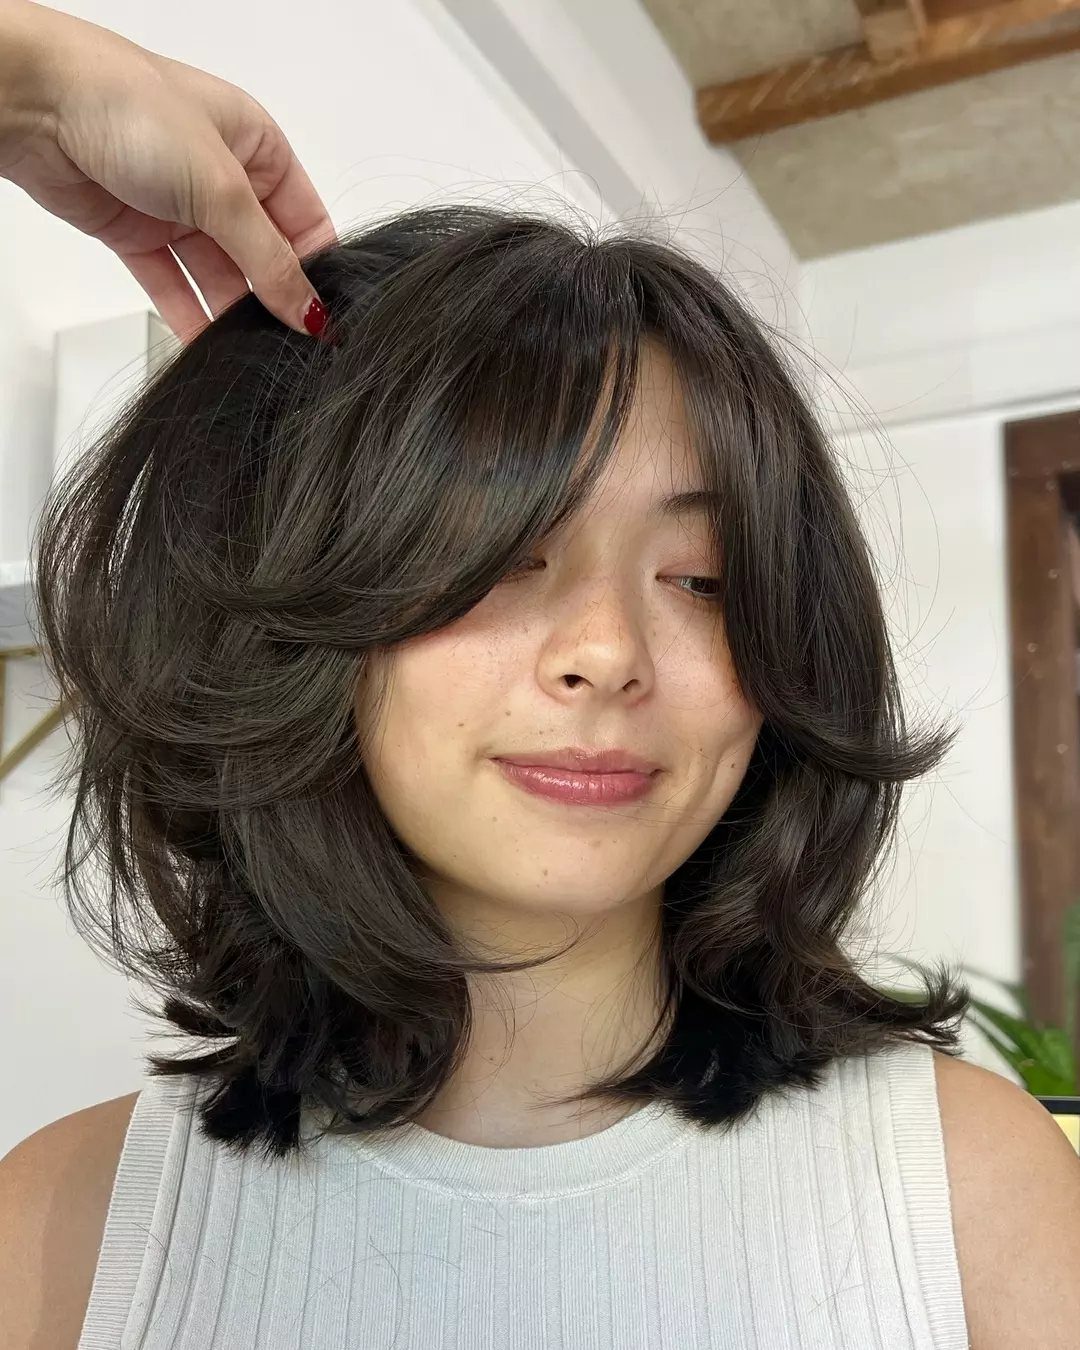
Curtain bangs plus a layered shag give you a cut where the face-framing starts at the forehead and runs all the way down. Layers that flip at the ends are the signature, and dark brown hair shows each one clearly.
Tell your stylist you want shag layers with curtain bangs blended into them, not bangs cut separately. Blending is what stops the fringe from looking added on.
I like this cut best on hair with some natural bend. Bangs need regular trims to stay out of your eyes.
10. Butterfly Haircut
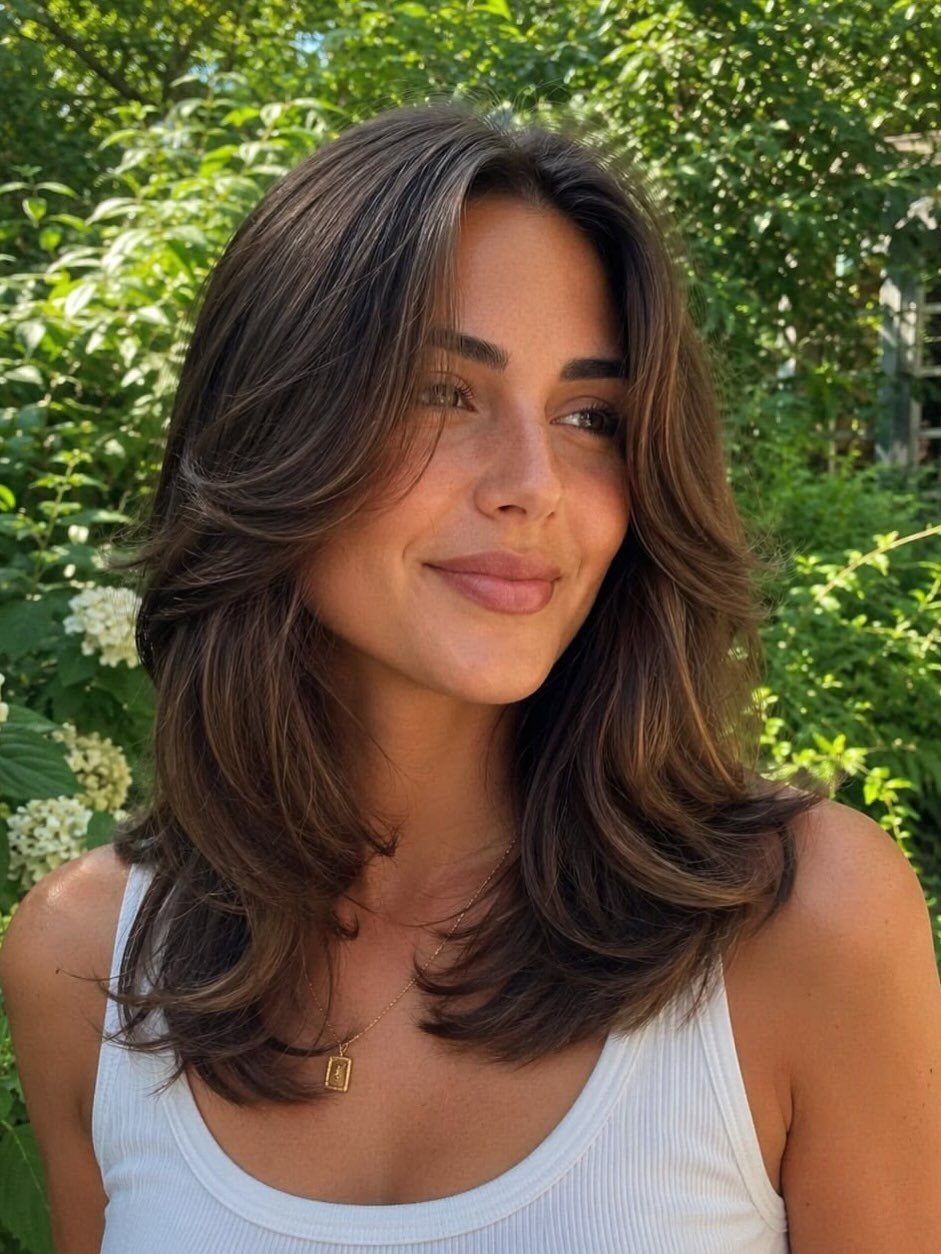
Long, feathered layers around the face are the heart of the butterfly haircut, and they let you keep your length while the hair gains movement.
The front pieces sweep away from the cheeks, and curled ends at the shoulders add to that lifted shape.
Ask for the shortest layers to start near the face and ask for the length to stay mostly intact. A medium curling iron turned away from the face gives the curl.
On dark hair the layering reads softer, which I prefer for everyday wear.
11. Wispy Ends
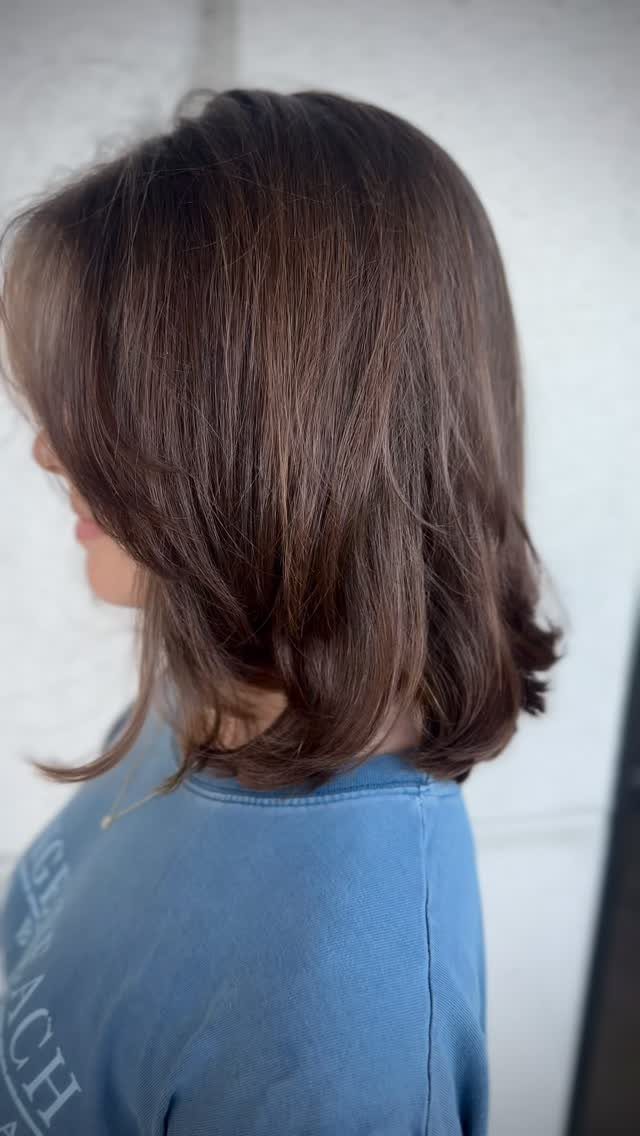
Wispy, feathered ends are a detail rather than a whole new cut: the layered lob stays, and the bottom edge turns light and see-through instead of blunt.
Ask your stylist to texturize the ends, using point cutting or slicing, and to keep the layers above them subtle. That keeps the shape neat while the ends soften.
Dark brown shows this well from the side, where the thinned ends catch the light. Wispy ends do need regular trims, since split ends show faster on a cut this fine.
12. Wavy Layered Hair
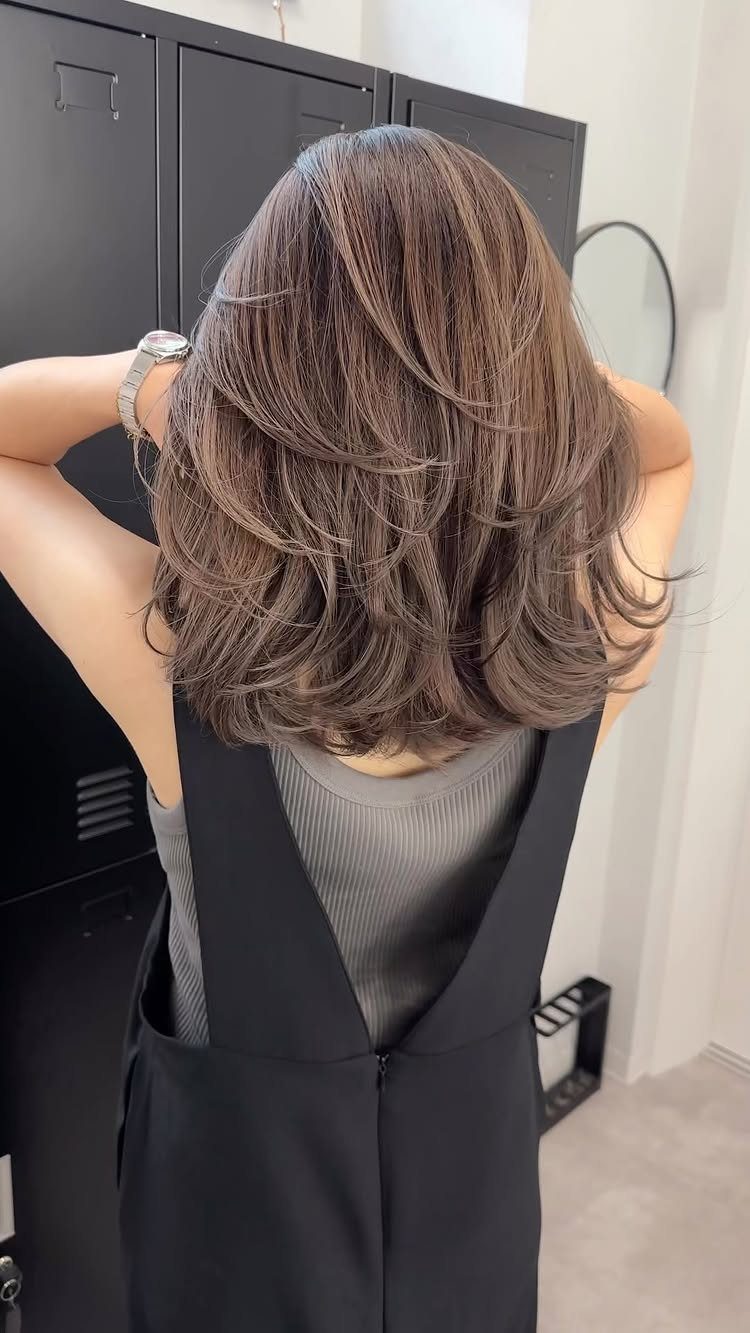
Layers on naturally wavy hair do the heavy lifting of shaping the wave: they remove weight so the bends spring up instead of hanging flat.
At shoulder length, soft waves in the ends show up best when the layers are cut to follow the wave pattern.
Ask your stylist to cut it dry, or at least check the layers dry, so you can see where the waves fall.
At home, a diffuser on low heat or air-drying with a curl cream keeps the movement. I’d skip heavy brushing, which pulls waves into frizz.
13. Face-Framing Layers
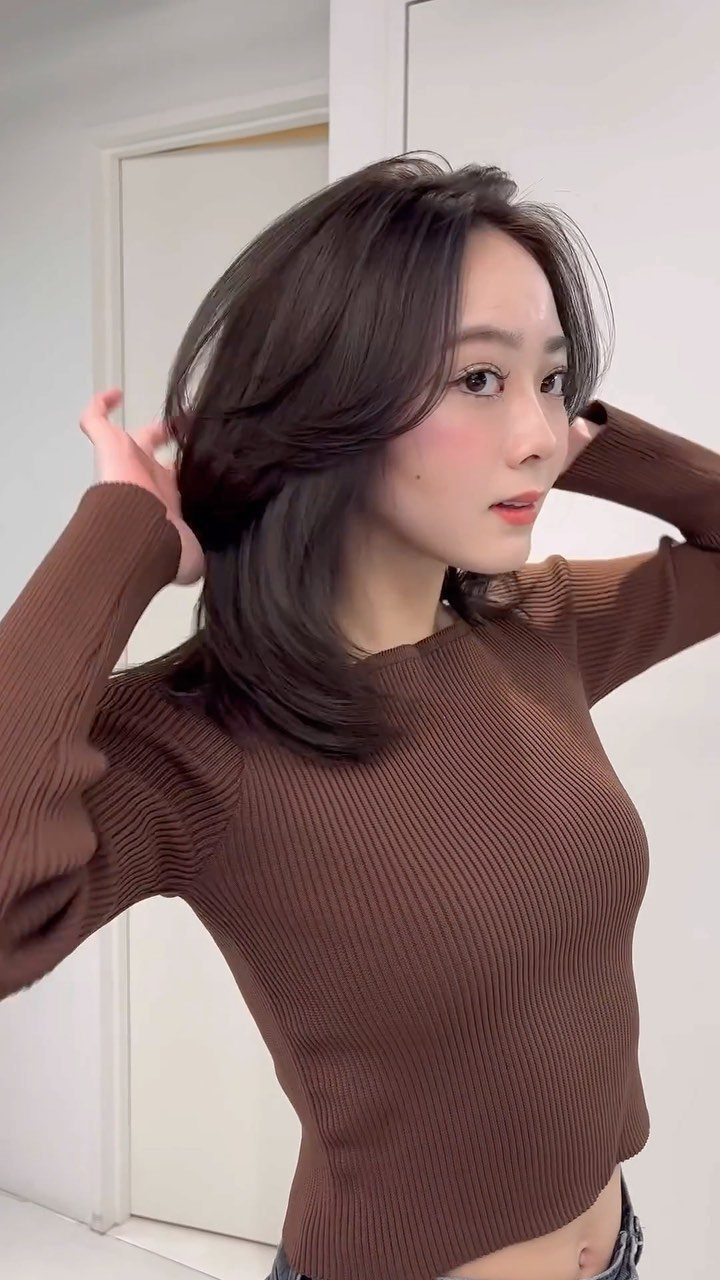
Hair that curves in around the cheeks and jaw does the softening here, and the shorter pieces at the front are what pull attention toward the eyes. The ends curve under, so the shoulder line stays tidy.
Ask your stylist for layers that start near the face and blend into the length behind them, so nothing looks cut in separately.
Blow-drying with a medium round brush, rolling the ends under as you go, is what builds that inward curve.
I’d pick this one if you want a change that is easy to live with.
14. Piecey Layers
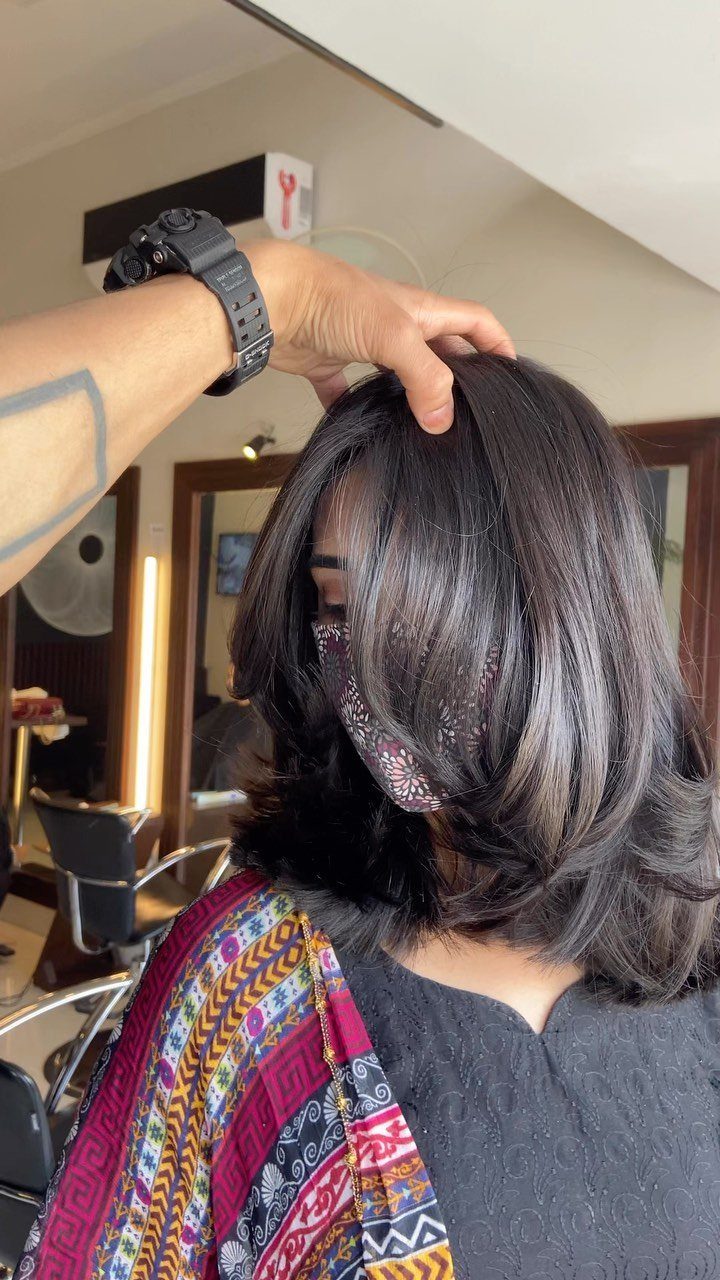
Deeper layers give the cut more definition, with each curved section visibly separate from the next. On glossy dark hair, every layer catches the light on its own, so the choppy structure reads clearly.
Tell your stylist you want the layers cut deeper than a standard soft shape, and ask where the shortest piece will land before they start. A small amount of smoothing product keeps the sections clean instead of fuzzy.
Fine hair can look thin when cut this way, so I’d go for it if you have medium to thick strands.
15. Subtle Layers
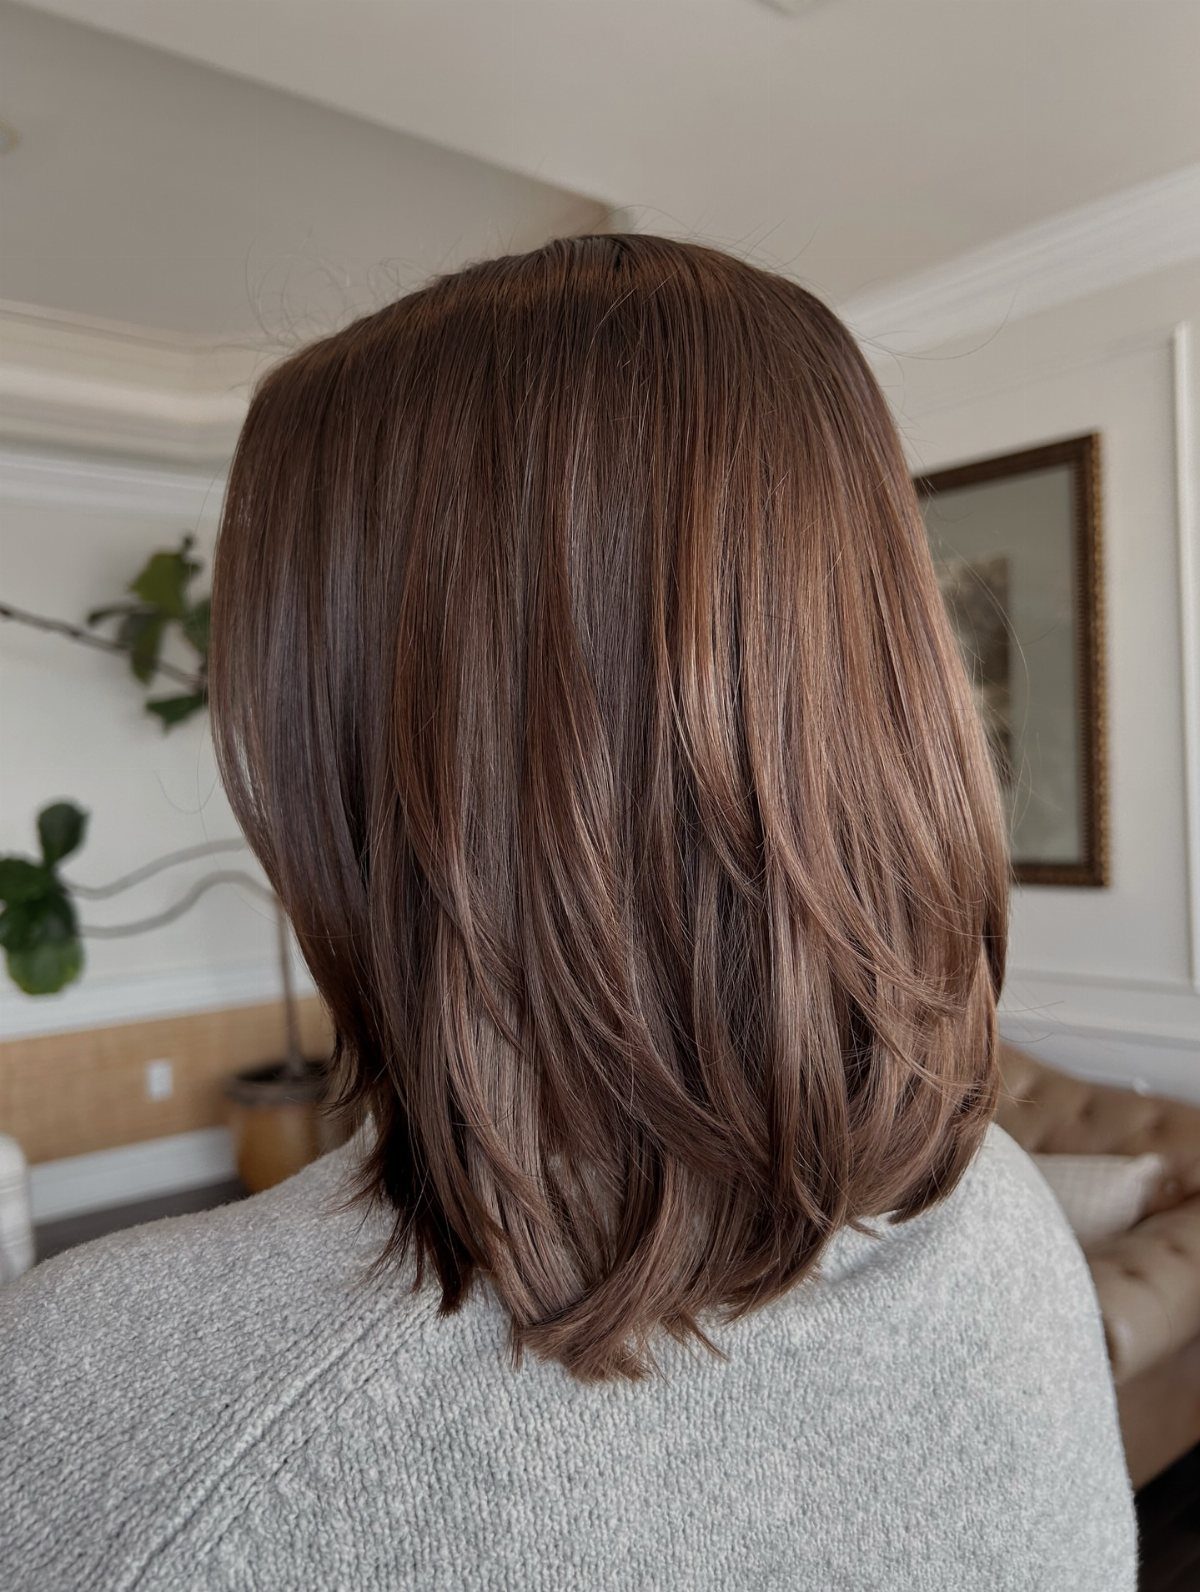
A gentle step from shorter to longer pieces adds movement without anyone being able to point to where the layers begin. At the back, the ends taper softly instead of stopping in a line.
Ask for a gradual progression and say plainly that you don’t want choppy or heavily stacked sections. That one sentence usually prevents a cut that comes out layered more than you wanted.
This is my pick for low-maintenance mornings: it looks finished with a quick brush-through and nothing else.
16. Shaggy Midi
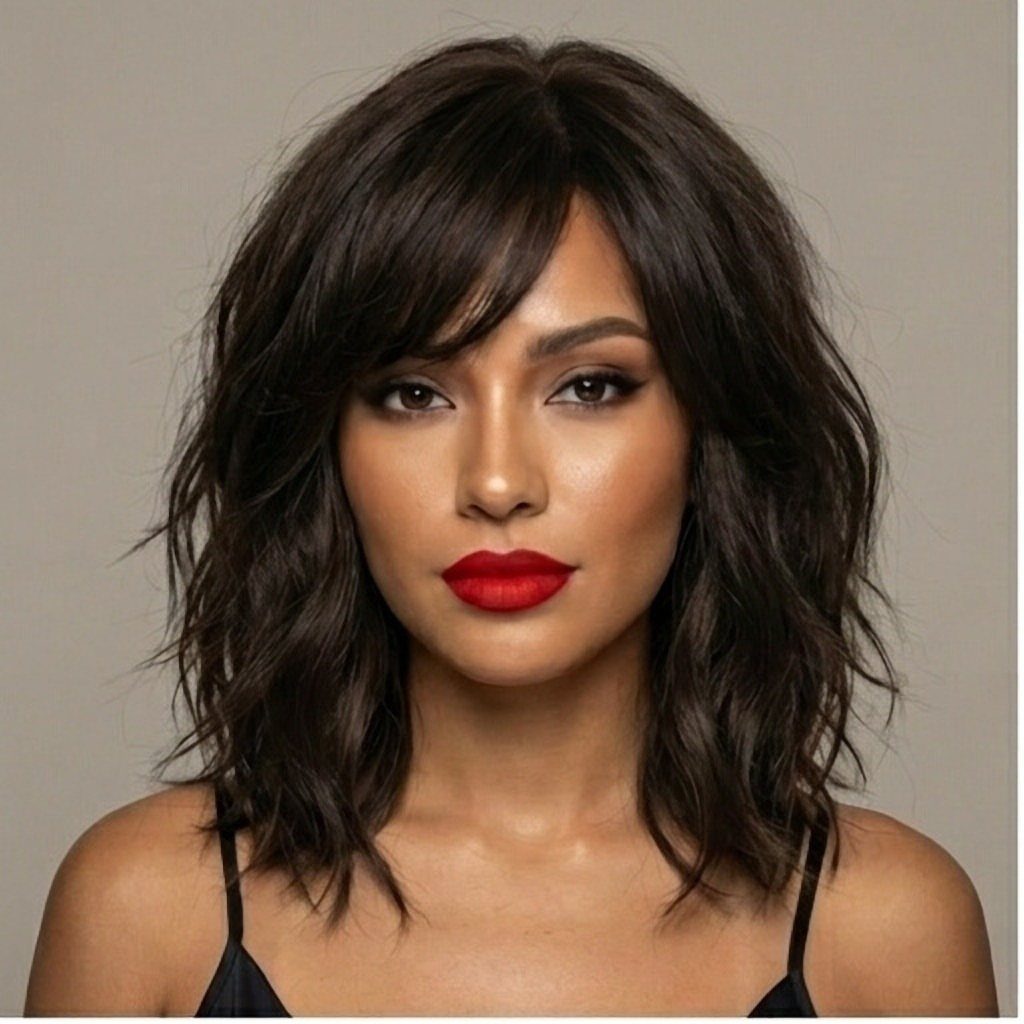
Heavily feathered ends and textured layers give this 1970s-inspired shag its shaggy character, and wispy tips keep it from looking heavy at the shoulder. Waves help, since they make the uneven lengths look intentional.
Ask for a lot of texture through the ends and for layers that are clearly shorter on top. Scrunch a little texturizing spray through damp hair and let it dry mostly on its own.
Expect this one to look messy by design. If you like polished hair, the Curved Lob suits you better.
17. Birkin Boho
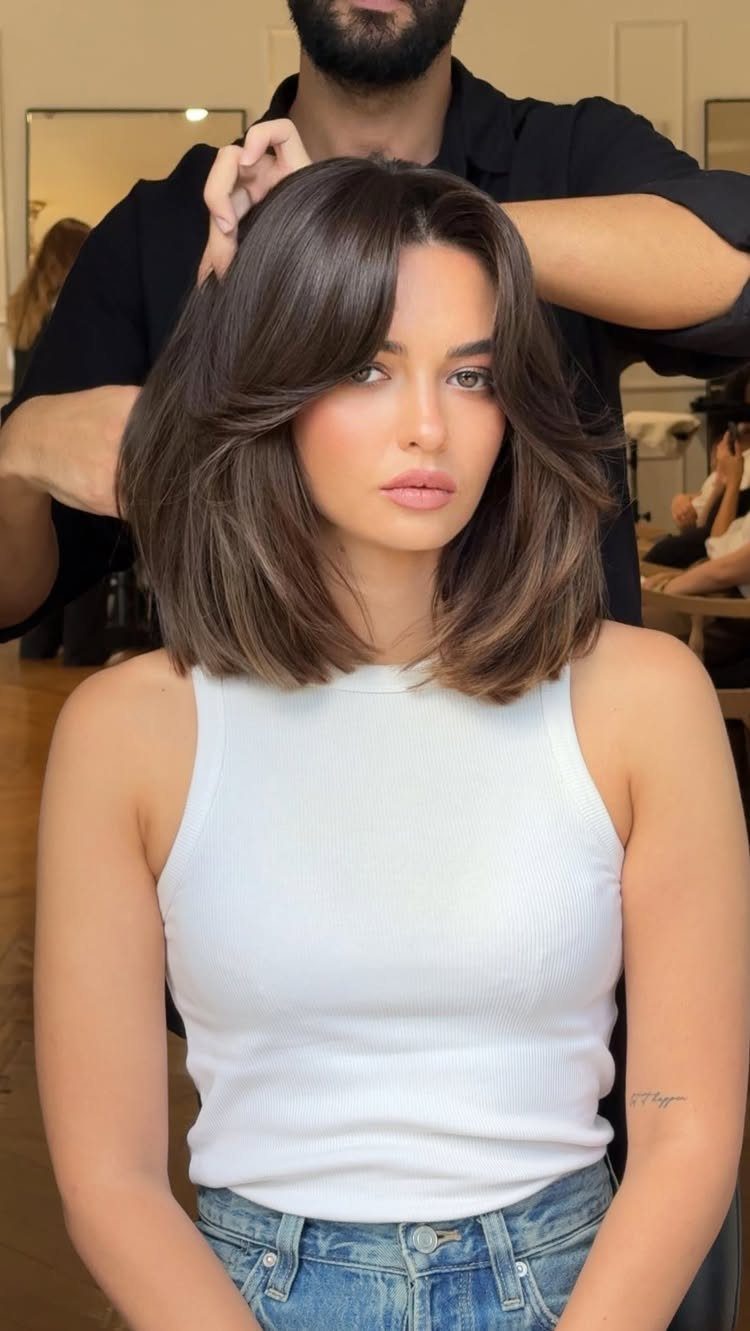
The longer pieces up front part to the sides like curtains, and with the layers blended softly behind them the whole shape looks loose and slept-in instead of styled.
The fringe parts in the middle and falls away to each side instead of sitting flat across the forehead.
Ask your stylist to blend the fringe into the layers rather than cut it as a separate block, and keep it long enough to tuck behind your ears. A quick blow-dry with your fingers is plenty.
Fringe means regular trims, and I think that’s a fair price for how much easier it makes the face to frame.
18. Butterfly Bob Midi
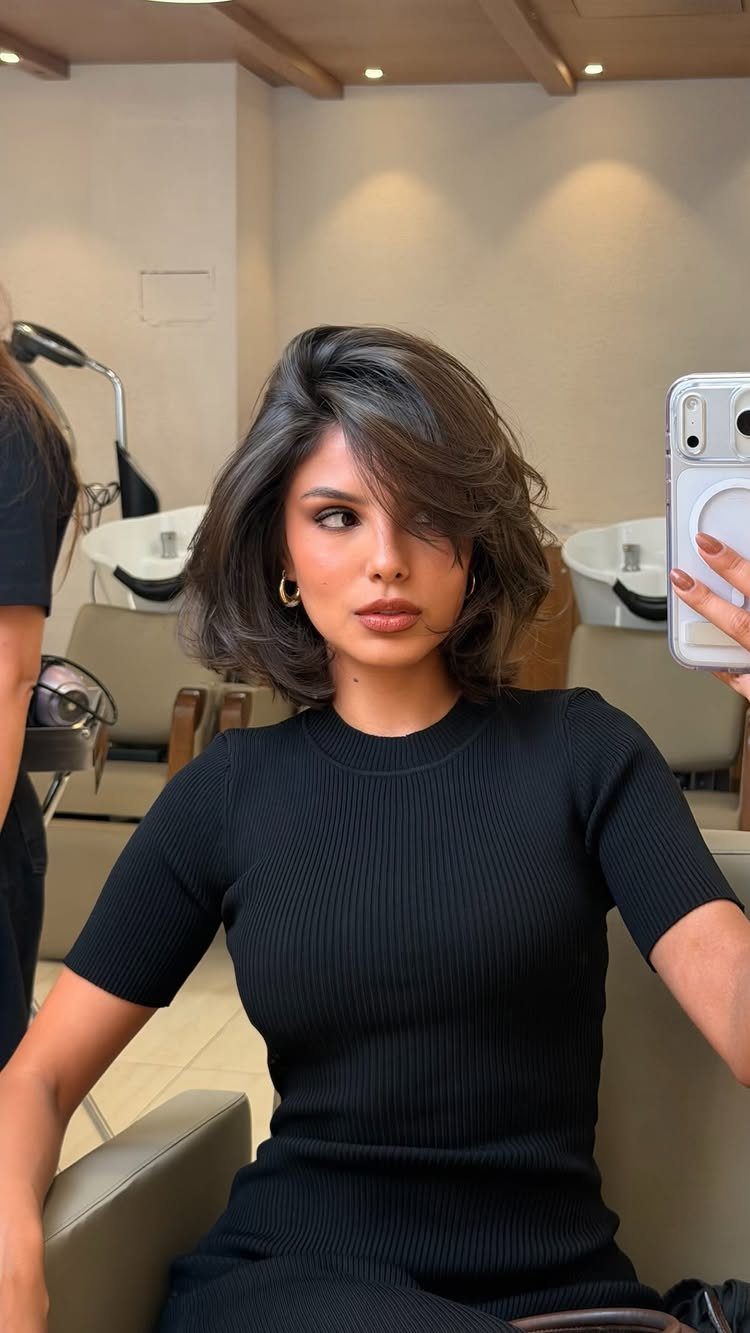
Long butterfly layers on a midi bob lift the hair around the crown and jaw, and soft, open bangs sweep to one side instead of closing across the forehead. The result is voluminous without feeling heavy.
Ask for butterfly layers on a bob that lands near the shoulders, with the bangs left open and side-swept. Blow-dry the layers with a round brush, lifting at the roots, then curve the ends.
I like this version of the bob best for hair that tends to fall flat, since the layers do the lifting.
19. Wavy Ends
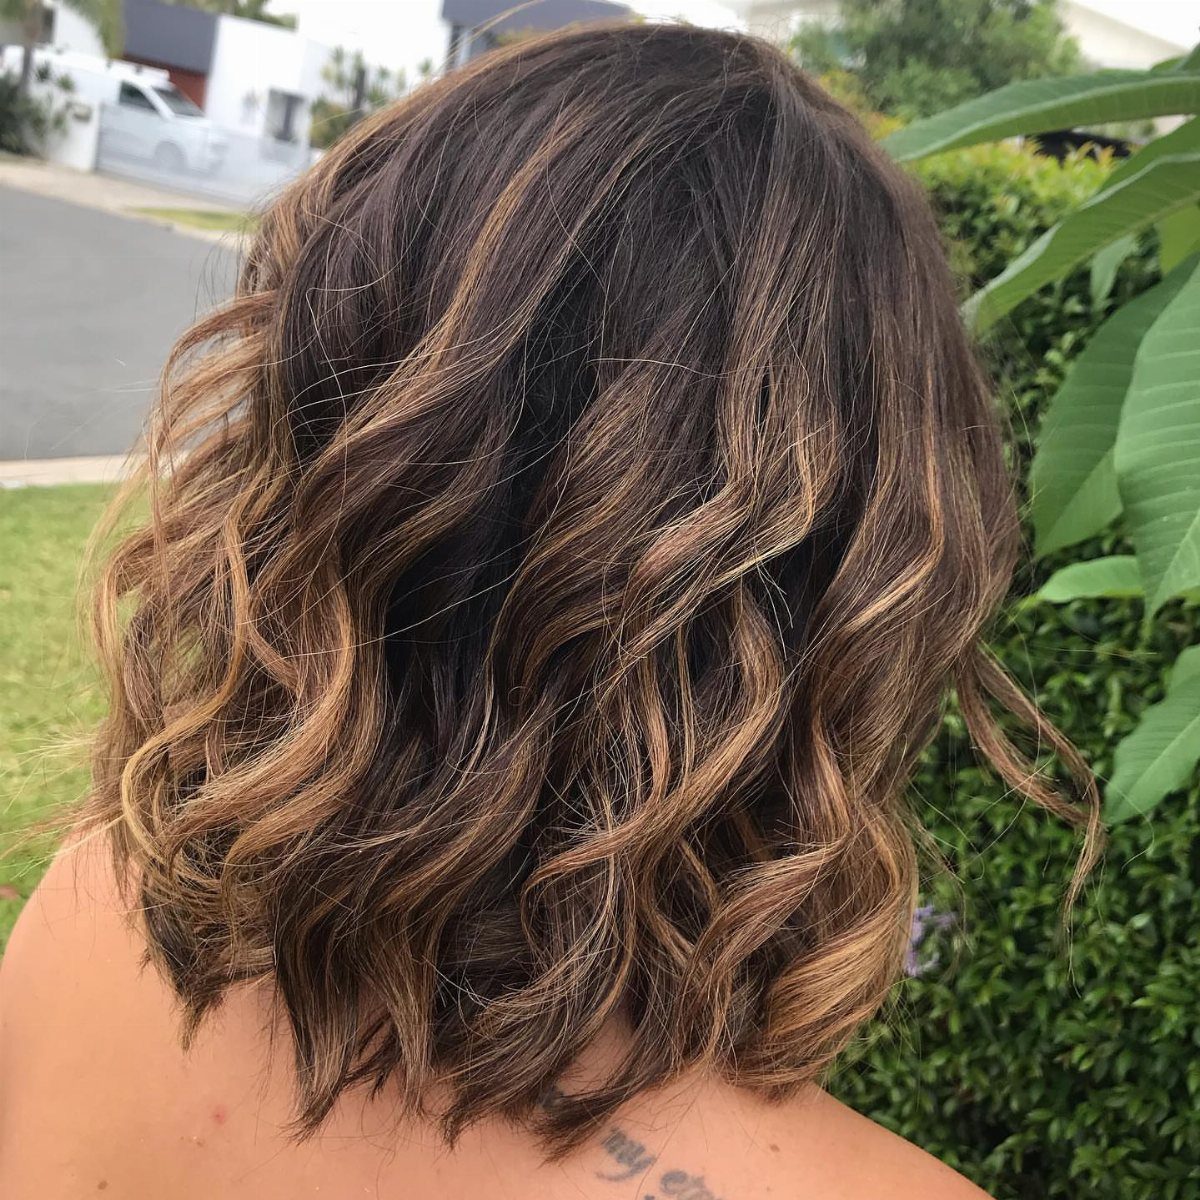
Loose waves that start below the cheekbones and finish at the ends add texture to a shoulder-length cut without changing its length. The layers stay soft, so the bend shows up as movement rather than a full curl.
Ask your stylist to cut the layers so the ends can curl freely, then use a curling iron on only the lower half of the hair, alternating the direction of each wave. Skip the roots, which keeps the top relaxed.
Waves at the ends suit hair that falls flat.
20. Retro Volume
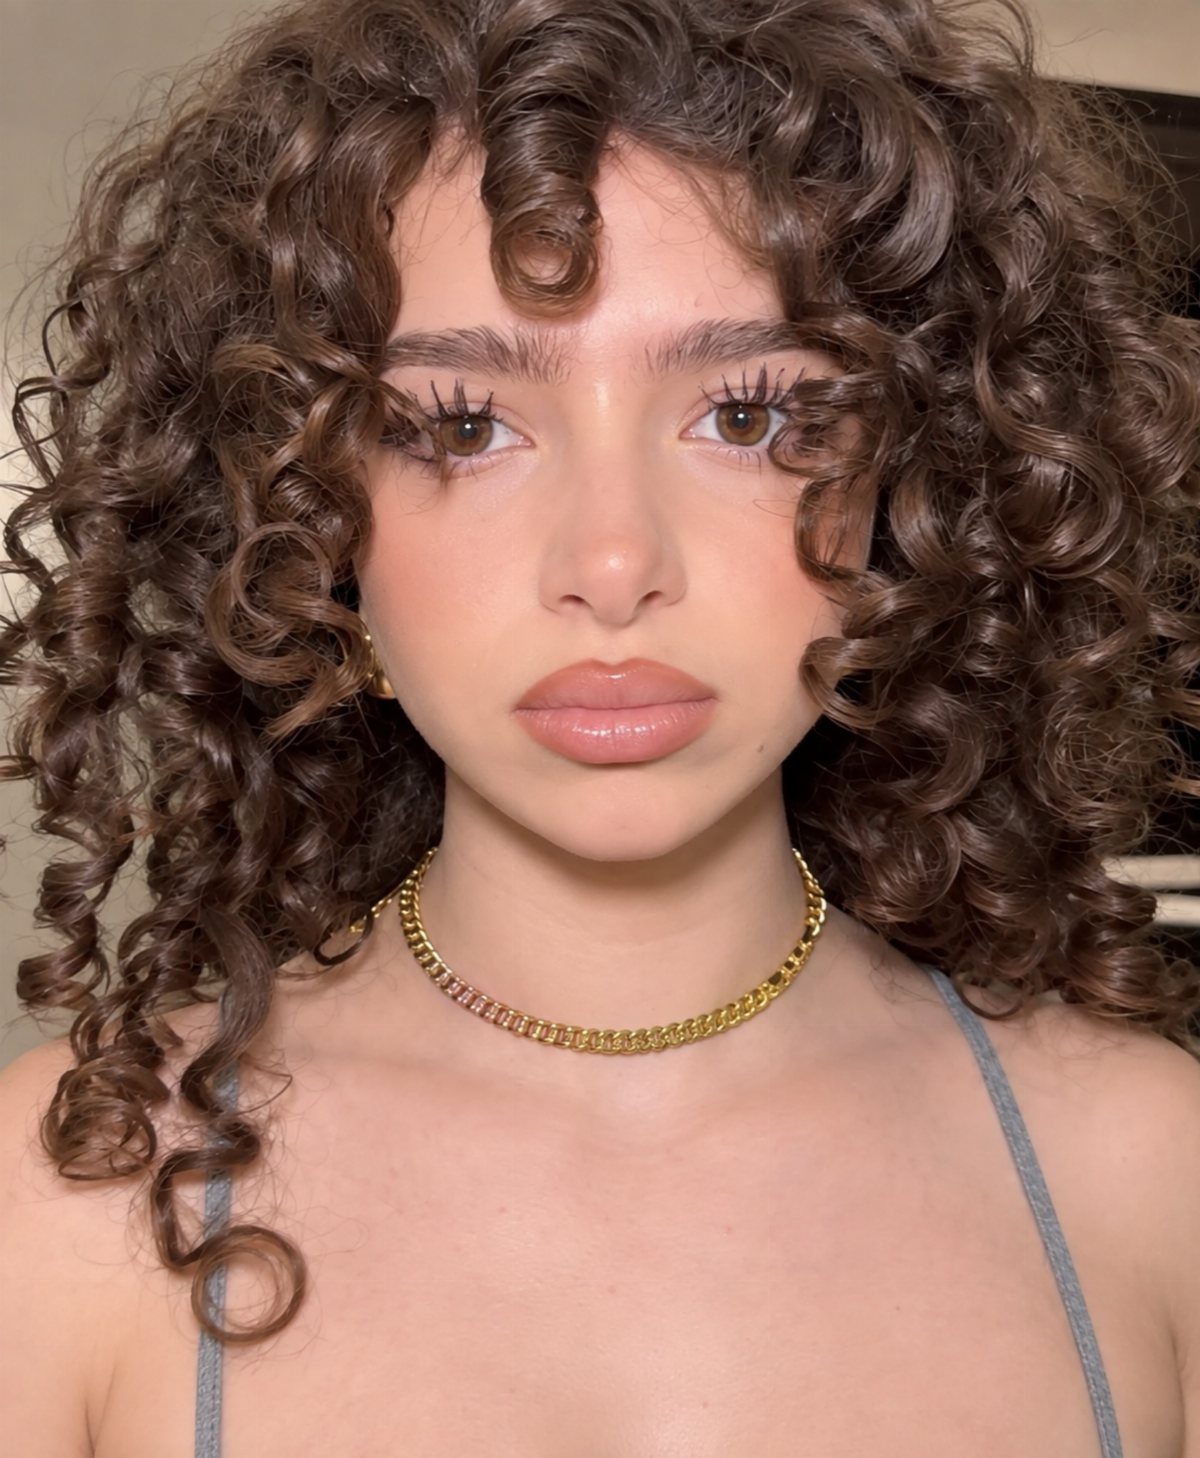
Pin-up curls and a full, curled fringe give this cut its retro lift, and the volume sits at the crown and around the face rather than at the ends. Brown hair shows every curl clearly.
Set the hair in large rollers or a curling iron, then brush the curls out with a soft bristle brush so they merge into one full shape. Keep the fringe curled too, or the set looks split in two.
Tell your stylist you want the fringe long enough to curl. This is a styling-heavy look, so I’d save it for days you have the time.
21. Half-Up Mini Bun
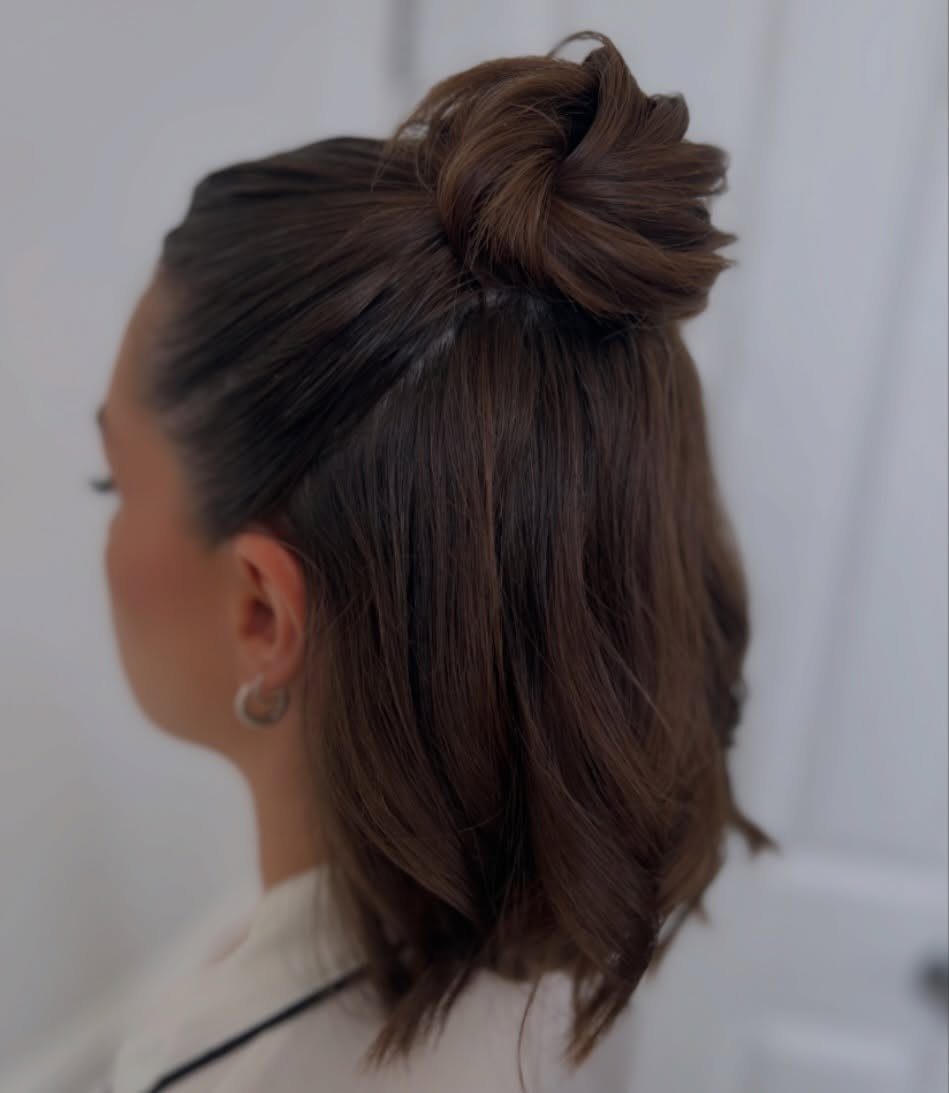
Gathering only the top curls into a small bun at the crown leaves the rest of the shoulder-length layers loose and keeps hair off the face without hiding the cut.
Loop the curls from the front sections into a bun with an elastic, then pull a few strands loose near the temples so it stays soft. Layers help here: the shorter pieces slip out on their own, which looks intended.
I like this for second-day hair, since it takes about 2 minutes and needs no heat. Leave the lower layers down and the shape stays intact.
22. Mixed Waves
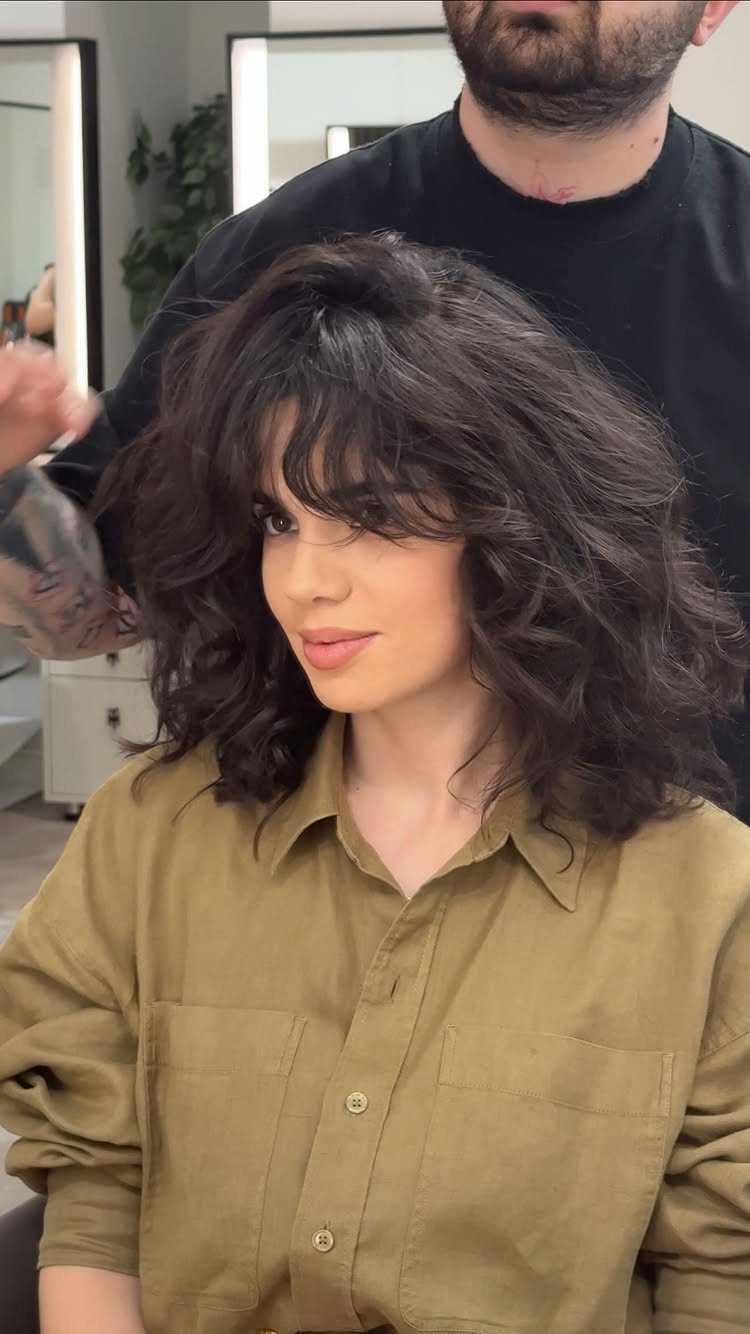
Soft waves and tighter ringlet-like curls live side by side in one cut, so the texture looks natural instead of set with a single iron size. Layers keep the volume spread evenly through the shoulder length.
Cutting the layers on dry hair lets your stylist see each curl where it actually sits, so the shape follows your pattern instead of fighting it.
At home, a diffuser and a curl cream let waves and curls dry in their own shapes; I’d avoid brushing them out.
Mixed texture is forgiving, because no 2 sections need to match. It looks fullest while the layers are fresh, and that fullness fades as they grow out.
23. Voluminous Afro
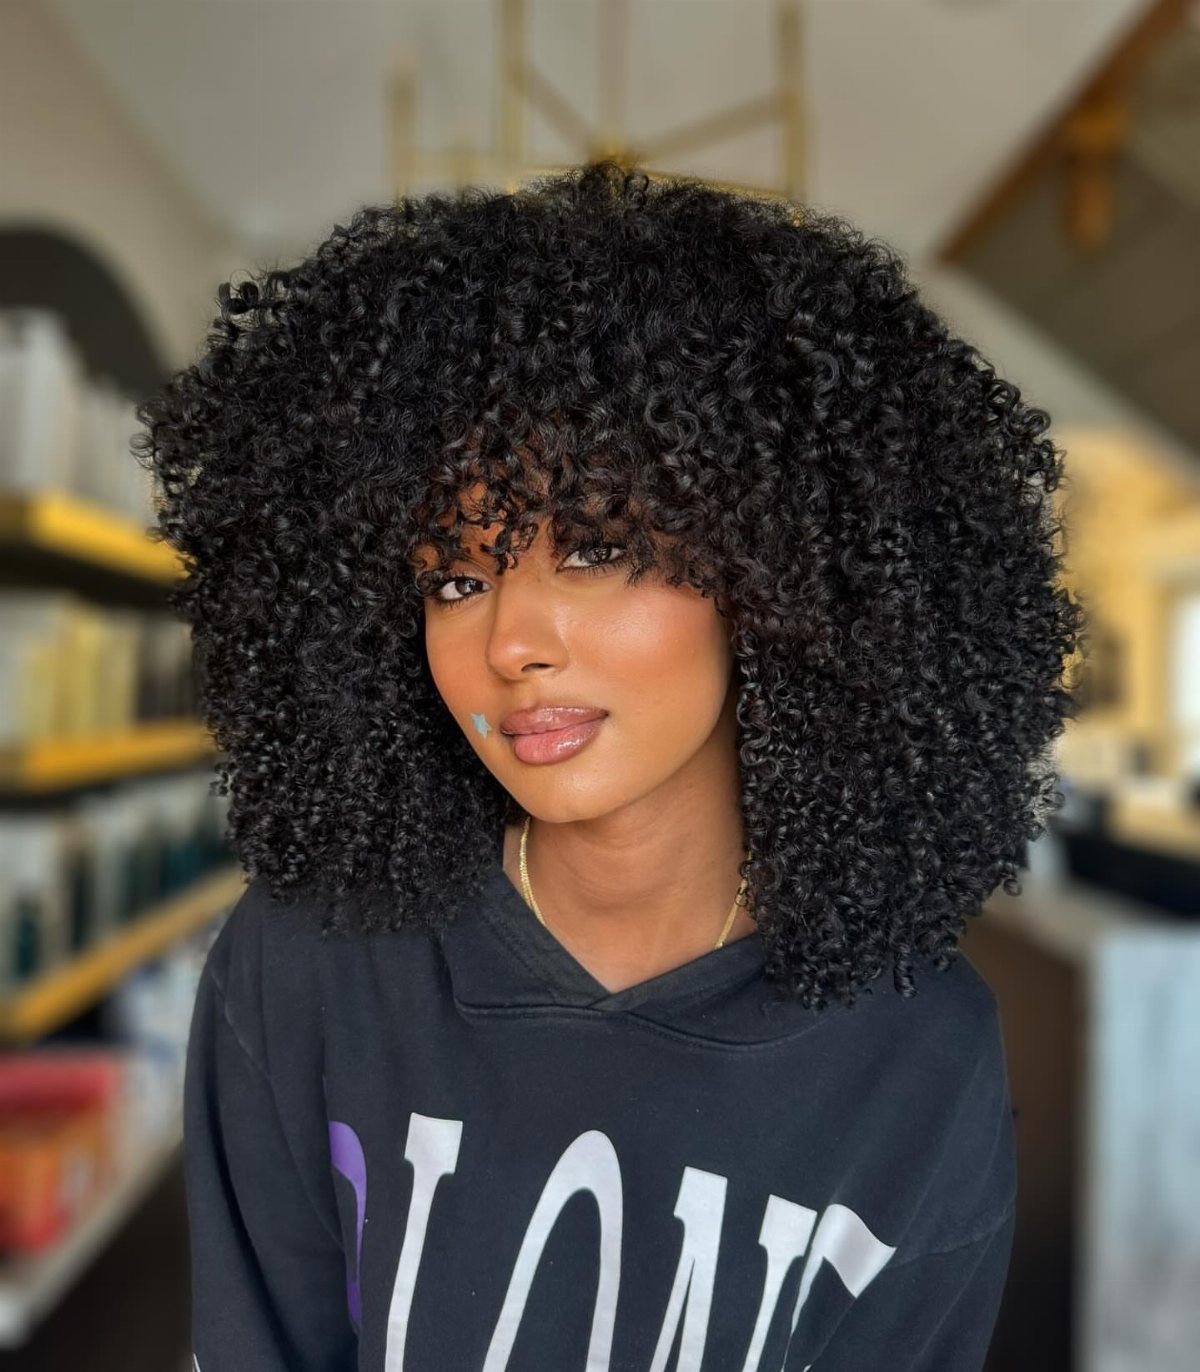
A rounded afro of tight natural curls gives shoulder-length hair its fullest silhouette, and bangs fold into the shape instead of sitting apart from it. Curls are worn at their natural pattern, with no heat involved.
Ask a stylist who works with tight curls to shape it dry, trimming around the outline to keep the round form. Detangle on damp, conditioned hair, and use a pick at the roots to lift the volume.
I think this is the most low-effort option on the list for curly hair, since the curls do the styling. Regular shaping keeps the outline even.
24. Blowout Bombshell
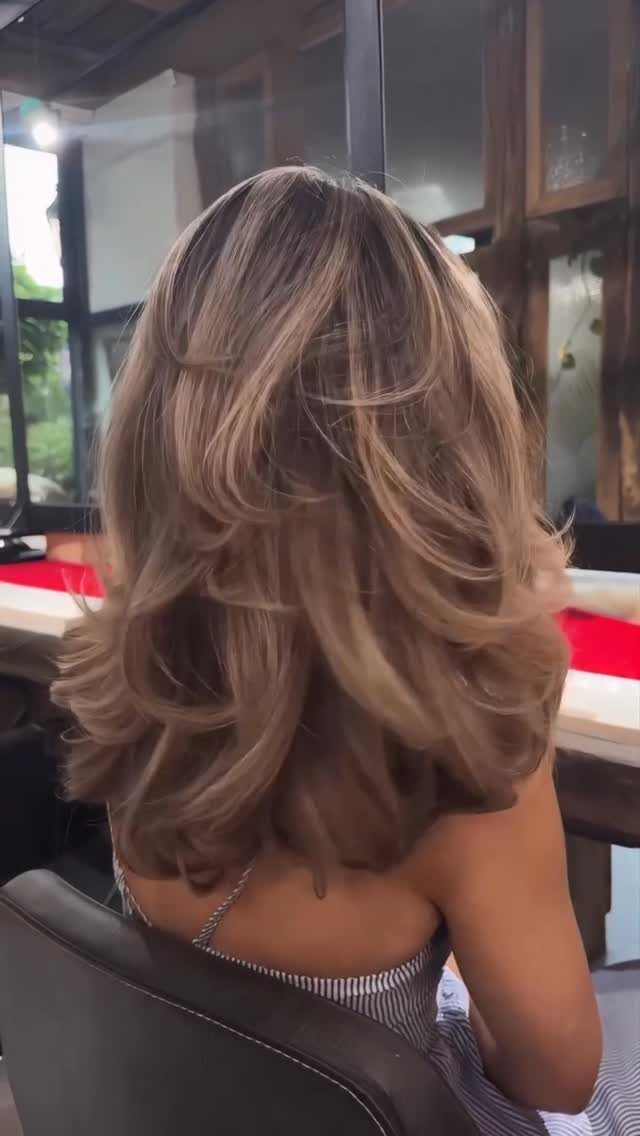
A bouncy blowout gives fine strands visible volume, because the lift comes from the drying rather than from the cut. The layers curl at the ends and the roots stand up.
Start at the roots with a round brush, lifting each section up and away from the scalp as it dries, then roll the brush down toward the ends. Set the curl with a few seconds of cool air.
Ask for soft layers around the crown so the volume has somewhere to go. The blowout lasts about as long as you leave your hair dry and untouched, so I’d treat it as a special-occasion style.
25. Even Layered Curls
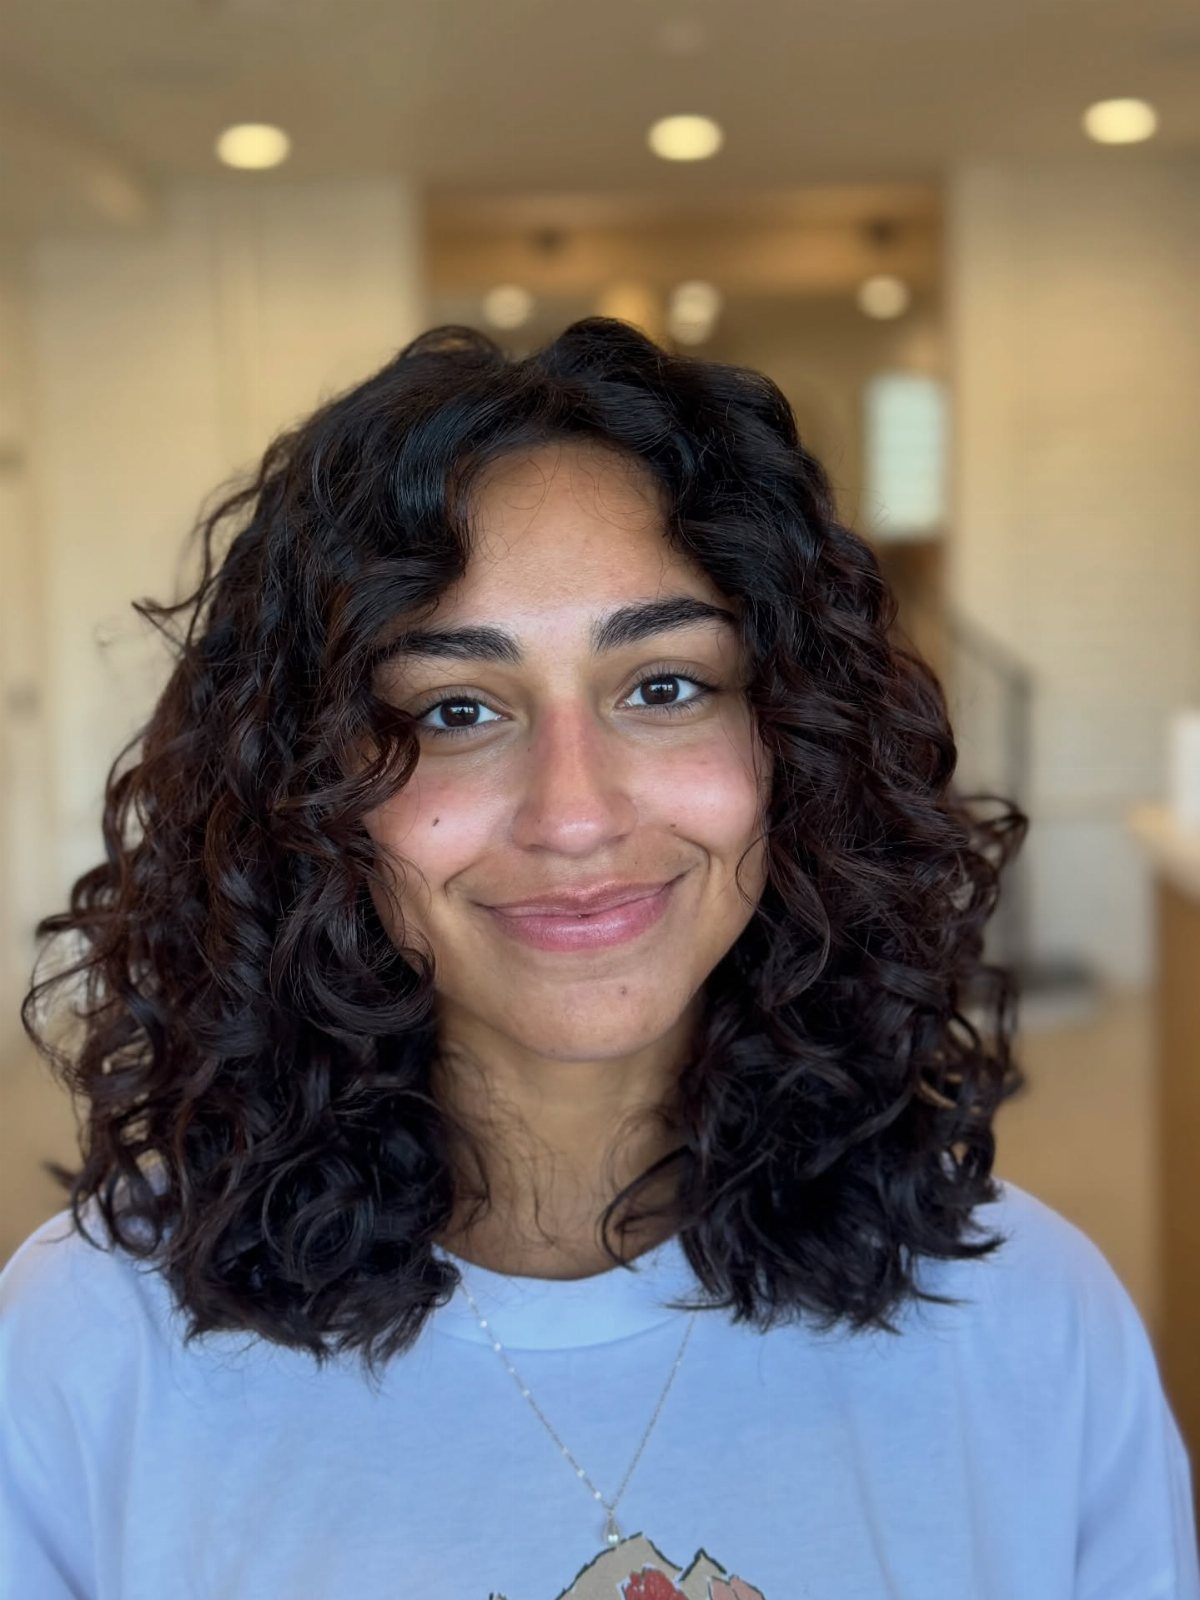
Even layers on naturally curly hair keep the volume spread from crown to ends, so the curls stack in a balanced shape instead of piling up at the bottom.
Ask your stylist to cut the layers dry, curl by curl, so each one is trimmed where it actually sits. A curl cream worked through damp hair and left to air-dry keeps the pattern defined.
I’d skip a brush once the curls have set. This cut is a good fit if you want your texture to do the styling.
26. Side-Swept Part
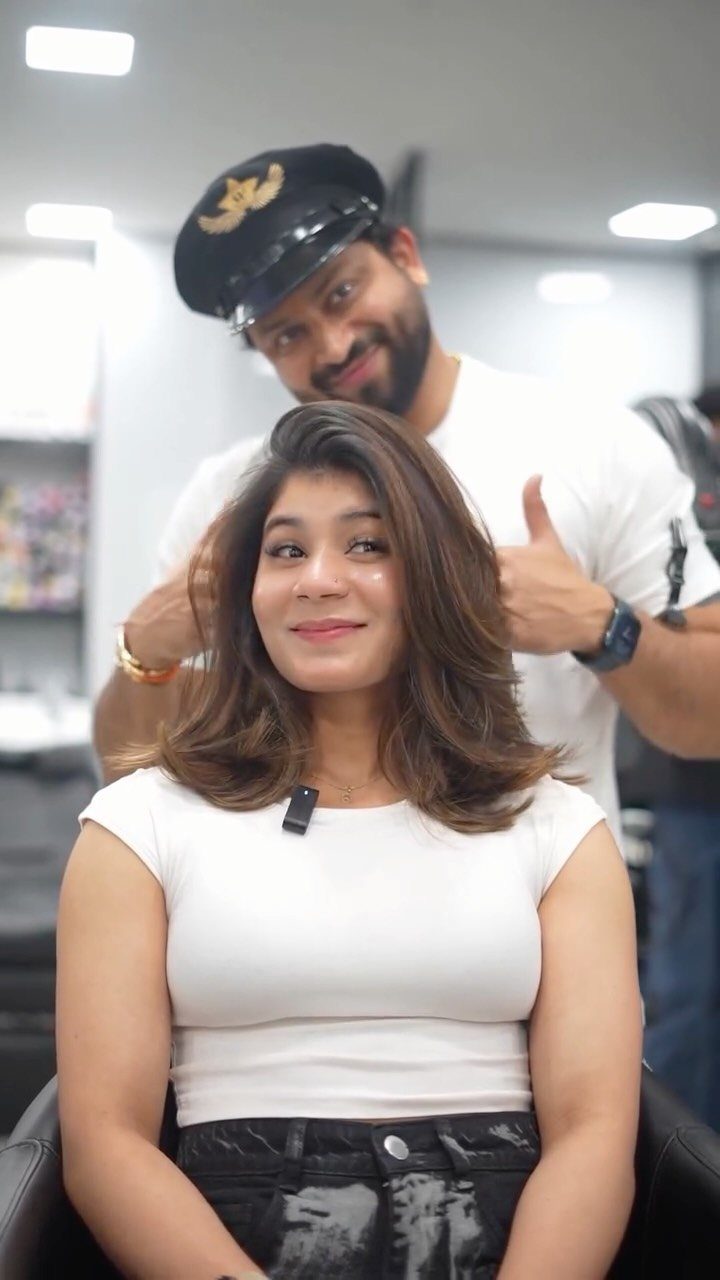
Parting the hair deep to one side sends loose waves across the forehead in a single sweep, and that asymmetry is the whole look. On shoulder-length layers it adds shape without any cutting.
Part the hair where it naturally falls, then move it a little further over. Curl the sections away from the face with a curling iron and let them cool before you touch them.
Ask your stylist for layers that follow the sweep so the waves lie in one direction. I’d choose this one when you want an easy change that costs nothing at the salon.
27. Old Hollywood Waves
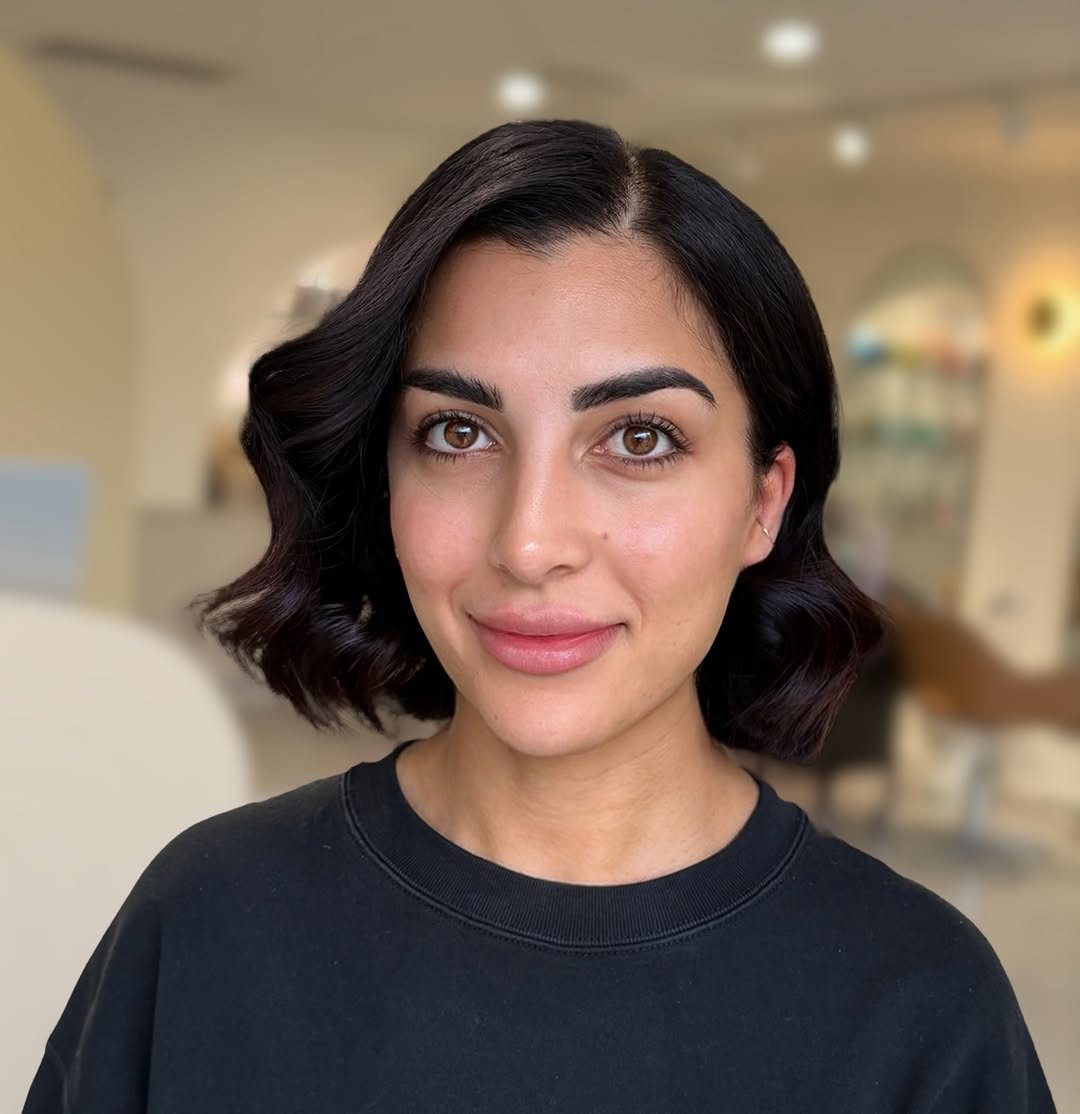
Glossy, brushed-out waves with a clean side part give a bob its most polished finish. The shine does as much work as the curl pattern, and dark hair reflects it well.
Set the hair in waves with a curling iron or hot rollers, then brush through gently so the curls join into soft, continuous ripples. A light shine serum on the finished waves keeps the surface smooth.
Ask for long, soft layers that end at the collarbone so the waves stack and curve instead of sitting in one heavy line. This style takes time to set, so I’d save it for evenings out.
28. Rosie Huntington-Whiteley Hair
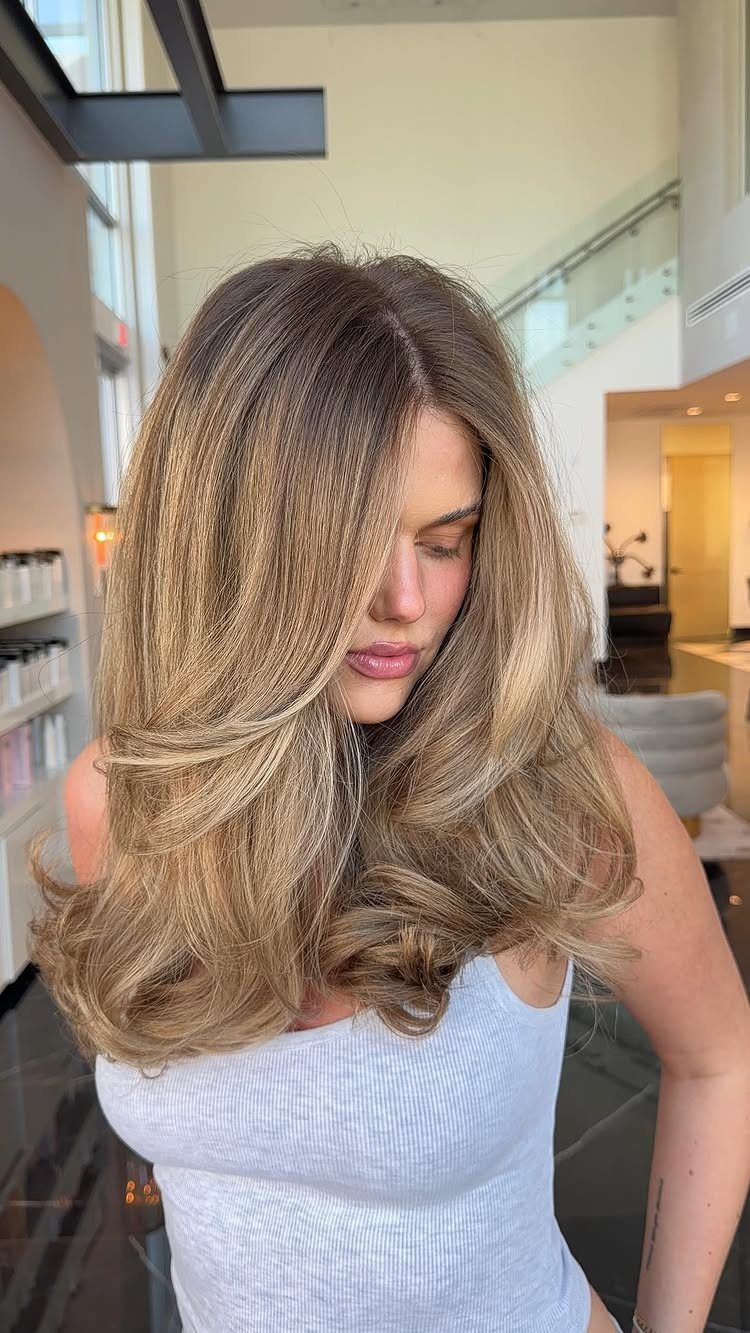
Medium-length layers with curled ends are the core of this celebrity-inspired look, and the highlights give the movement a bit more depth. The hair stays long enough to feel full while the layers keep it from looking heavy.
Bring a photo to your stylist and ask for layers that start around the collarbone, with soft ends that can hold a curl.
Take a medium-barrel iron to the lower lengths, wrap each section away from your face, and let your fingers break the curls up once they cool.
I like it on hair that holds a curl easily, since the style depends on that bend.
Choosing Layers for Hair Type
Hair type decides how visible your layers should be. Thick hair can take layers you can actually see, since their job there is to take weight out.
Layers move hair around; they won’t make fine hair denser.
What fine hair gains is a lighter, airier feel and some lift at the roots, which is still worth having. Thick hair gains shape and swing instead of a heavy block.
Look at your natural texture before you pick a technique. Wave, curl and straight strands each take layers differently, and one approach doesn’t suit all of them.
Texturizing the ends and cutting layers for movement are 2 separate techniques, though a stylist can combine them. If you have fine hair, ask for movement first and thinning only where you truly want it softer, like around the face.
Explaining the Cut to a Stylist
Bring a reference photo, but treat it as a starting point. Your texture and face shape won’t match anyone else’s, so ask your stylist to adapt the layers to your hair instead of copying a formula.
Arrive with your hair styled the way you wear it on a normal day. That shows your stylist your real texture, parting and how the hair falls, with no guesswork.
Tell them how you style it in an average week: how many days you use heat, how many minutes you give it, and whether you air-dry.
A cut built around a quick air-dry routine looks different from one built for a full blow-dry, so tell your stylist how you really style on a normal weekday.
If your hair is curly, ask whether they can cut it dry. Seeing the curl pattern in its natural shape helps avoid surprises from shrinkage.
Ask where the layers will start and how visible they’ll be before the first snip. Placement matters more than the number of layers.